
Can you freeze Keto Coconut Cream Pie? Tips + Recipe
Yes, you can freeze gluten free keto coconut cream pie easily, so keep reading for all the details whether you are prepping ahead with a whole pie or want to preserve your leftover cream pie.
I want to show you how you can easily create a coconut cream pie for your next gathering or dessert time, freeze it successfully and then thaw with beautiful results!
This Gluten Free Keto Coconut Pie recipe really is for all of the die hard coconut lovers out there and will quickly become one of your favorite desserts!
My recipe for homemade coconut cream pie is what I tested this idea out on.
I found it best to be able to show you how to freeze a freshly baked cream pie by testing it out myself.
Keep reading as I will walk you through the steps of making the pie, preparing it for storage in the freezer, then give my best tips, substitutions and answer frequently asked questions.

Origins of Coconut Cream Pies
The coconut cream pie is a beloved dessert featuring a luscious coconut-infused custard filling topped with whipped cream and toasted coconut flakes.
Coconut-based desserts have been enjoyed across tropical regions for centuries, with early variations appearing in Southeast Asia and the Pacific Islands.
The modern incarnation of coconut cream pie is often found as an American culinary innovation, gaining popularity in the late 19th and early 20th centuries.
As coconut became more accessible due to increased trade, its rise to prominence in American cuisine is marked by its inclusion in cookbooks and diner menus making it a staple dessert.

What you will need to make this Coconut Cream Pie
You need to start out with the best coconut cream pie recipe and this is definitely the one!
This coconut custard pie is perfect for any special occasion that will impress your guests!
They will have no idea that it contains no added sugar and it will be the ultimate coconut lover’s dream!
It is filled with a creamy coconut custard filling that is achieved easily with a keto pudding mix plus a can of coconut cream or a refrigerated can of coconut milk.
All of this coconut milk mixture is nestled into a baked pie crust that has bits of shredded coconut in it for the ultimate coconut crust.
Since you do not have to cook the filling, there is no need for egg yolks like typical custard pies that require the use of an egg mixture.
Here is what you will need to make this ultimate coconut cream pie:
- Almond flour
- Monk fruit sweetener/or erythritol
- Powdered stevia
- Maple extract
- Butter; softened (or coconut oil)
- Unsweetened shredded coconut
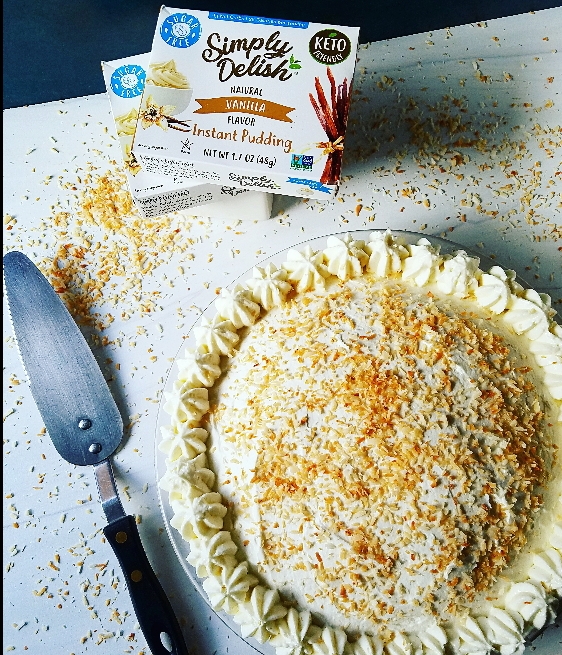
- 2 boxes Simply Delish Vanilla Pudding
- 1 (13-14oz) can full fat coconut milk
- Unsweetened almond milk plus extra if needed
- Cream cheese; softened
- Heavy cream
- Confectioners erythritol
- Vanilla extract
- Coconut Extract (optional)
Preheat your oven to 350F and get out a 9-inch pie plate.
You will need to make the crust first so it can cool while you make the coconut cream pie filling!
Put all of the crust ingredients into a medium bowl and mix with a fork, mashing the butter and mixing until it resembles a sand like mixture.
Do not use a wooden spoon as it will compact the almond flour grains too much and make it difficult to crumble.
This homemade pie crust goes well with the coconut cream filling as it hardens up in the fridge with the cooling and melds the flavors nicely!
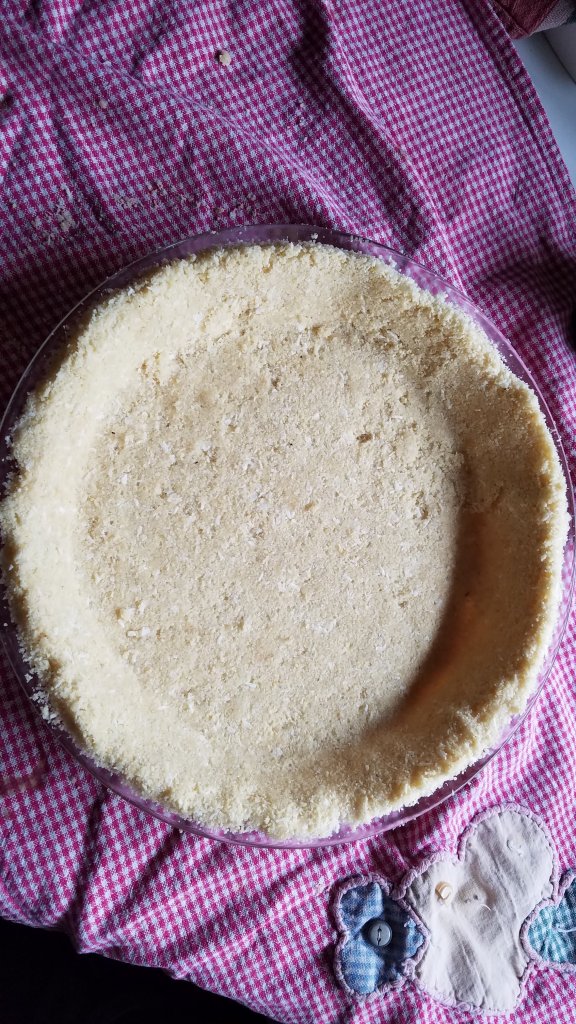
Gluten Free Coconut Crust:
Press this crust mixture into a 9 inch pie plate and blind bake the pie shell in a 350F preheated oven for 15 minutes.
No pie weights are necessary as it does not rise like a flaky pie crust made with pie dough.
If you want to skip this step and are not worried about extra sugar, you can of course use a purchased gluten free graham cracker crust.
Your results will be the same, but not as tasty as homemade!
Be sure to watch it so it does not burn as ovens vary in the way they cook even if set to medium-high heat.

The crust should be golden brown and not too brown.
Now set aside the pie crust to cool completely to room temperature.
Gluten Free Coconut Pie Filling:
Let’s make the creamy coconut filling next!
For the first layer you will combine the dry pudding mixes in a large mixing bowl with the coconut milk and almond milk.
Please note that I do not mean the boxed coconut milk, this is too thin, I am referring to canned full fat coconut milk.
Whip this pudding mixture up with an electric mixer for 2 minutes until it has thickened.
If for some reason it thickens up too much, thin it out with additional unsweetened almond milk or coconut water until the consistency has a smooth and creamy texture.
Taste test your mixture once you have it mixed.
If the coconut flavor is faint, then you can add up to 1 tsp coconut extract.
This will bump up the coconut flavor if the coconut milk you have chosen is not very strongly flavored.
Let this mixture sit for about 5 minutes.
If your crust is cooled, and only if it is cooled, spread 1 1/2 cups of the prepared pudding mixture into the bottom of the crust.
Keep the remaining pudding mixture for another step and set aside.
For the second layer you will whip the cream cheese with the monk fruit sweetener in a separate bowl until smooth.
Set aside for now.
For the third layer add 2 cups of heavy cream into a large bowl with 2 tablespoons of confectioners erythritol and 1 teaspoon of vanilla extract.
Whip the whipping cream and powdered sweetener with an electric mixer until you get soft peaks.
You do not want stiff peaks as this will tend to separate when you blend with other ingredients.
It needs to be stiff enough to hold, but not too stiff.
Now take half of this whipped cream and fold into the cream cheese mixture from the second layer.
The best way to do this is with a large spatula where you scrape the sides of the bowl then cut down the middle bringing the batter up folding over on itself.
Half of this NEW cream cheese/whipped cream mixture you have just created will need to be folded into the remaining pudding mixture from the beginning first layer.
Then spread this completely combined and folded mixture into the pie shell OVER the pudding mixture already in the crust.
The remaining half of this cream cheese/whipped cream mixture created in the third step can either be spread over the top of the pie as a third layer OR put it in a piping bag and pipe decorations around the outer edge.
If you do not have any fancy piping tips but want to pipe anyway, you can use a zip top bag.
Put the mixture into the bag and snip one corner just a little, then you can squeeze it out slowly in methodical plops along the outer crust area.
Finish the pie off by sprinkling some toasted coconut over the whole pie. This adds great texture to an already creamy pie!
Easily toast your own shredded coconut by stirring 1/2 cup of coconut flakes in a dry skillet or dry medium saucepan over medium heat.
Do not leave it unattended and stay there stirring the whole time as it will burn super easily.
The toasting takes only a few minutes and goes quickly.
Remove from the heat as soon as you see it turning golden brown and let it cool a few minutes before using.
Now your Gluten Free Keto Coconut Cream Pie needs to chill overnight.
Place toothpicks evenly in a circle around the center part of the pie.
Now pull a piece of plastic wrap longer than the width of the pie and gently place the wrap over the pie and tuck under the sides.
Put in the fridge overnight or for at least 8 hours.
How to freeze your Gluten Free Coconut Cream Pie
There are two different ways you can choose to freeze your homemade keto coconut cream pie.
You can freeze the gluten free keto coconut cream pie whole or in slices, but either way they will last in the freezer up to 2-3 months.
Homemade cream pies do not contain preservatives so this means it will not last as long as ones from the store.
Freezing a Whole Pie:
Now you are at a point where you can proceed with freezing the entire pie.
If you wish to do this, keep it wrapped up in the plastic wrap and transfer to the freezer for another 8 hours or overnight.
Do not go from fresh to frozen without the fridge time to set up or it may separate.
The time it sits in the fridge the fillings have time to meld together with each other and the crust.
Thawing a frozen pie does take longer to thaw but will save you time and keep it intact like a store-bought cream pie.
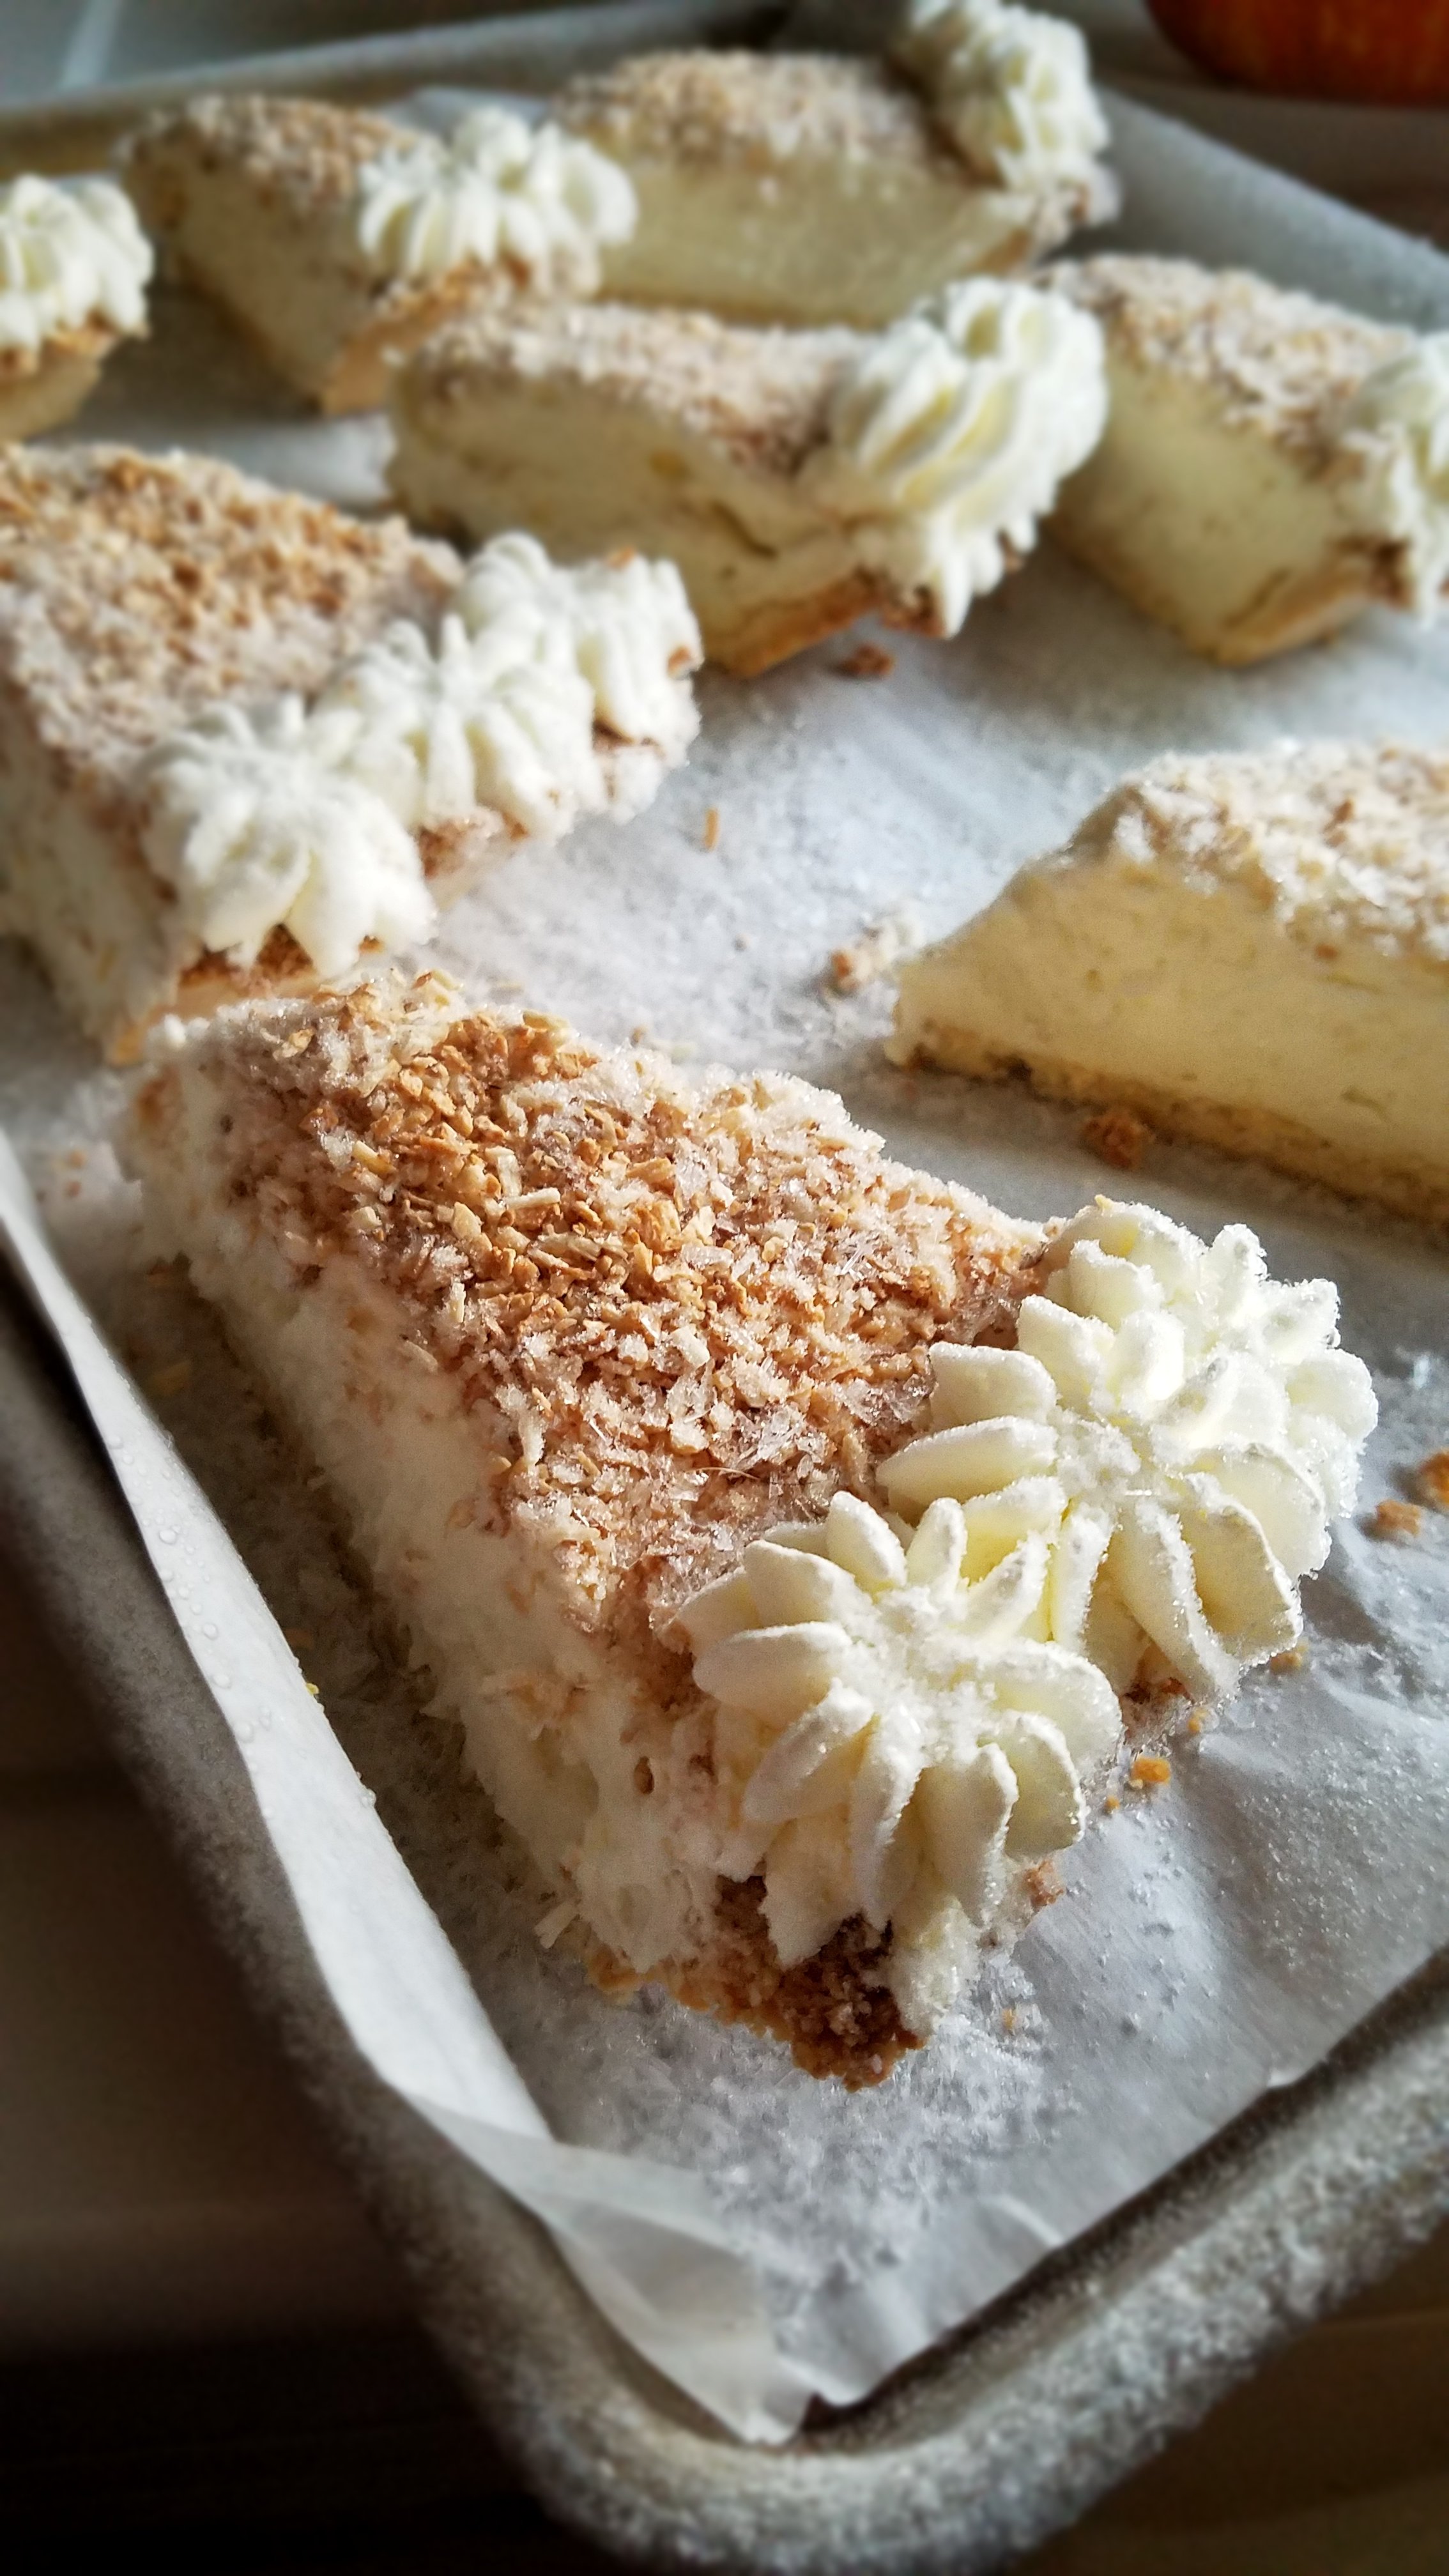
Freezing Slices of the Pie:
If you would like to freeze the slices individually, as I have done, then do not put the whole pie in the freezer.
First you need to line a baking sheet with parchment paper. then cut the pie into 8 moderately equal slices.
Transfer each slice onto the parchment paper and place each slice a few inches away from each other.
Now place the baking sheet with the pie slices in the freezer for a couple of hours until it is firm enough to not yield to pressure.
At this time, you need your plastic wrap again.
Place a small square of plastic wrap down, then take one piece of pie and wrap up working in a circle pattern for the best results.
This helps to prevent the pieces from getting freezer burns on the outside.
If you do not have plastic wrap, then you can use aluminum foil as an alternative.
After all pieces are wrapped up, place them inside a large freezer bag or airtight container with the storage date written on the outside with a permanent marker.
How to Thaw the Pie to Eat After Frozen:
When you are ready to eat the frozen cream pie, set it out at least 4 to 6 hours before wanting to serve it.
If you are thawing individual pieces, then place on a plate unwrapped from the tin foil or plastic wrap you used originally.
To quickly thaw it, you will need to let it sit at room temperature for 1-2 hours.
The best way is to let it sit overnight in the fridge so it can slowly thaw.

Can you freeze Gluten Free Keto Coconut Cream Pie?
Equipment
- Freezer
Materials
- Freezer Zip Top Bags or freezer safe airtight container
- aluminum foil or parchment paper
- plastic wrap
- sharp knife
- pie server
- baking sheet
Instructions
- There are two different ways you can choose to freeze your homemade keto coconut cream pie.
- You can freeze the gluten free keto coconut cream pie whole or in slices, but either way they will last in the freezer up to 2-3 months.
- Homemade cream pies do not contain preservatives so this means it will not last as long as ones from the store.
Freezing a Whole Pie:
- Now you are at a point where you can proceed with freezing the entire pie.
- If you wish to do this, keep it wrapped up in the plastic wrap and transfer to the freezer for another 8 hours or overnight.
- Do not go from fresh to frozen without the fridge time to set up or it may separate.
- The time it sits in the fridge the fillings have time to meld together with each other and the crust.
- Thawing a frozen pie does take longer to thaw but will save you time and keep it intact like a store-bought cream pie.
Freezing Slices of the Pie:
- If you would like to freeze the slices individually, as I have done, then do not put the whole pie in the freezer.
- First you need to line a baking sheet with parchment paper. then cut the pie into 8 moderately equal slices.
- Transfer each slice onto the parchment paper and place each slice a few inches away from each other.
- Now place the baking sheet with the pie slices in the freezer for a couple of hours until it is firm enough to not yield to pressure.
- At this time, you need your plastic wrap again.
- Place a small square of plastic wrap down, then take one piece of pie and wrap up working in a circle pattern for the best results.
- This helps to prevent the pieces from getting freezer burns on the outside.
- If you do not have plastic wrap, then you can use aluminum foil as an alternative.
- After all pieces are wrapped up, place them inside a large freezer bag or airtight container with the storage date written on the outside with a permanent marker.
How to Thaw the Pie to Eat After Frozen:
- When you are ready to eat the frozen cream pie, set it out at least 4 to 6 hours before wanting to serve it.
- If you are thawing individual pieces, then place on a plate unwrapped from the tin foil or plastic wrap you used originally.
- To quickly thaw it, you will need to let it sit at room temperature for 1-2 hours.
- The best way is to let it sit overnight in the fridge so it can slowly thaw.
Notes
- This freezer method will work with all cream pie recipes such as chocolate cream pie or banana cream pie with the same results.
- Make this completely dairy free next time when you use dairy free whipped cream made from refrigerated cream of coconut. Simply use in place of the heavy cream called for and whip until soft peaks.
- If you have leftover coconut cream pie, you need to freeze your slices within 4 days as the pie in the fridge has a short shelf life.
- If you want to use whole milk in the pudding instead of coconut milk, this will work but you need to add in some coconut extract for the coconut flavor to be as much as you would get with coconut milk.
Don’t forget to PIN the pinnable recipe card to your Pinterest board or print the printable recipe card.
Full disclosure, we are affiliates with various companies, including Amazon as an Amazon associate and earn a small commission from these companies when you purchase through my affiliate links.
This is at no extra cost to you.
Thank you for supporting my site by leaving a five-star review plus leaving a comment in the comment section with your results.
Leaving 5 star ratings helps my recipe to be seen by more people which helps others have options too!

This helps my great recipes to be shown to more people for my websites’ success!
Come follow me on social media as well as I post new recipes and videos on Instagram and Pinterest all the time!
If you love cast iron as much as I do, then you would absolutely LOVE my 2nd cookbook “Chaffles Cast Iron and The Crock”!!
Here are more gluten free coconut milk recipes you can make!
The Best Low Carb Copycat Baileys Irish Cream Recipe

Use coconut milk instead of heavy cream so you do not miss out on this tasty addition to recipes and most of all coffee!
Easy Dairy Free Iced Strawberry Latte Recipe (Keto)
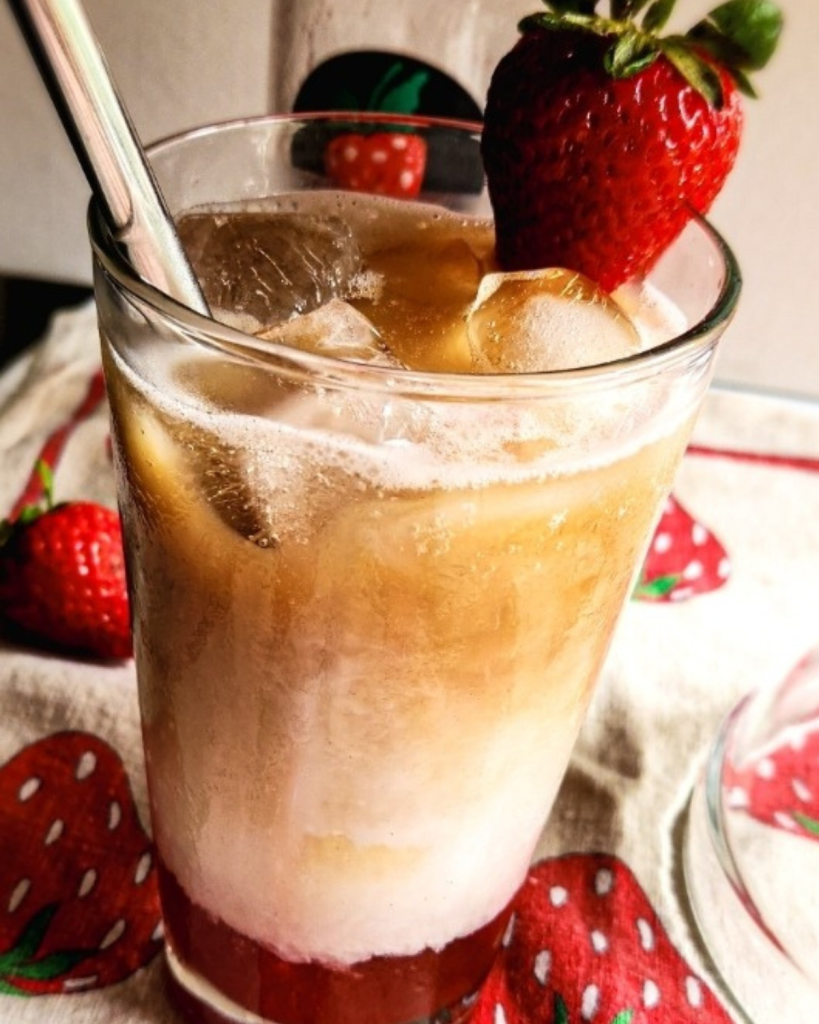
Make up this delicious Dairy Free Iced Strawberry Latte with coconut milk!
Gluten Free Coconut Crunch Donuts (Hostess Copycat)
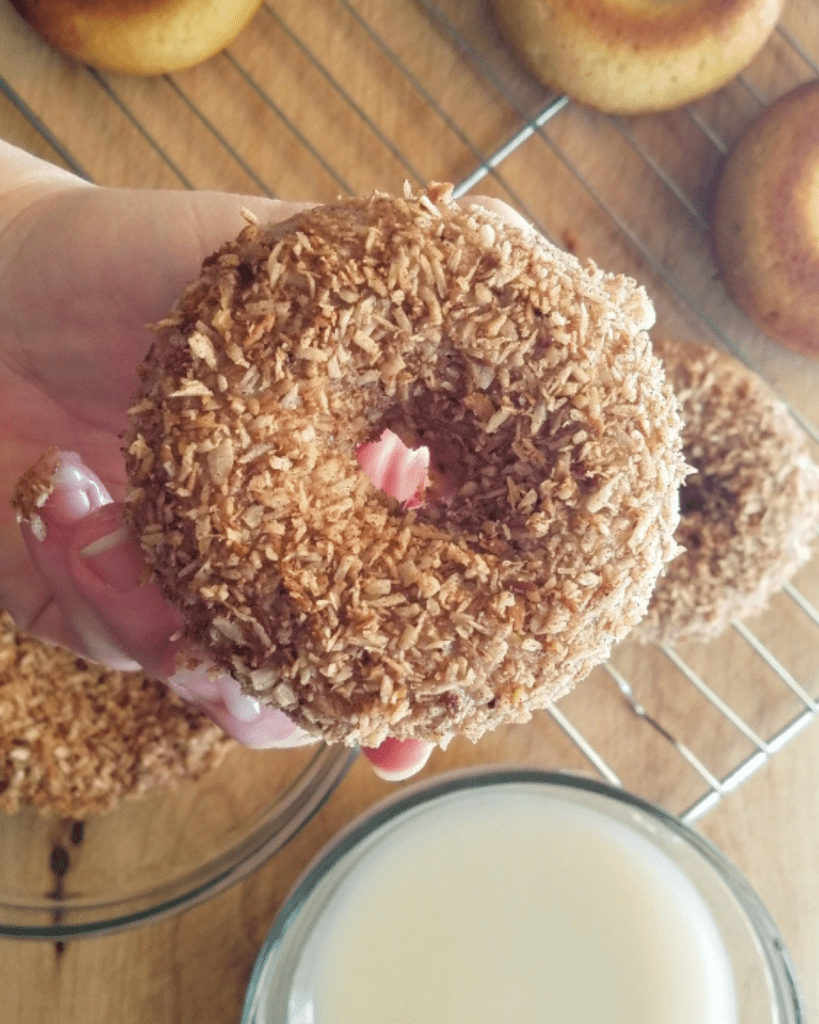
Get your coconut on with this scrumptious coconut donut that uses coconut milk in the donut batter and luscious glaze topping!
Keto Strawberry Ice Cream (No Churn Option)
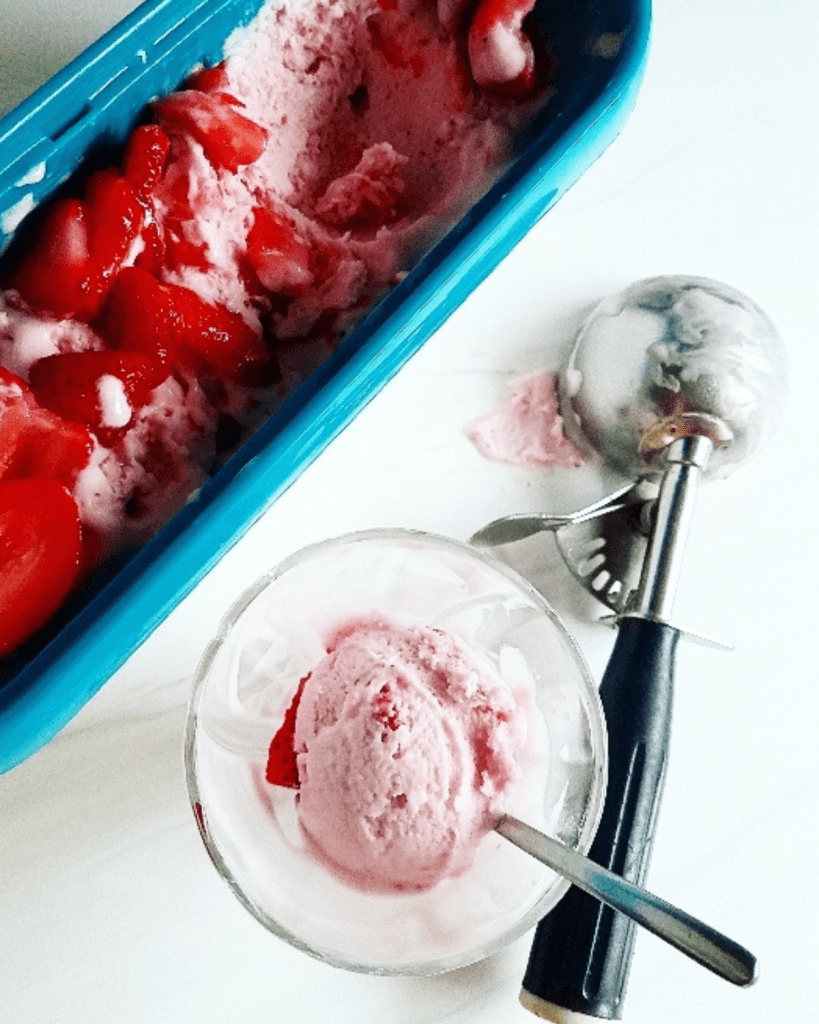
Make up a quick and creamy strawberry ice cream with coconut milk and a box of sugar free strawberry pudding!
Air Fryer Recipes Beef Bread Breakfast Cakes Coconut Flour Cold Drinks Cookies and Bars Crockpot Recipes Dairy Free Desserts DIY Recipes Donuts Drinks Hot & Cold Fall Recipes Holiday Recipes Hot Drinks Ice Cream & Toppings Instant Pot Recipes Keto Condiments Keto Ingredients Kitchen Tips & Tricks Low Carb Side Dishes Main Dish Muffins Pies Pork Poultry & Seafood Pumpkin Puree Recipes Quick Gluten Free Lunches/Snacks Seasonal Recipes Skillet Meals Summer Recipes Uncategorized Waffles and Pancakes Winter Recipes
One response to “Can you freeze Gluten Free Keto Coconut Cream Pie?”
[…] Now take each individual piece and wrap in plastic wrap and put the plastic wrapped slices in a zip top freezer bag as I have done with my coconut cream pie. […]