


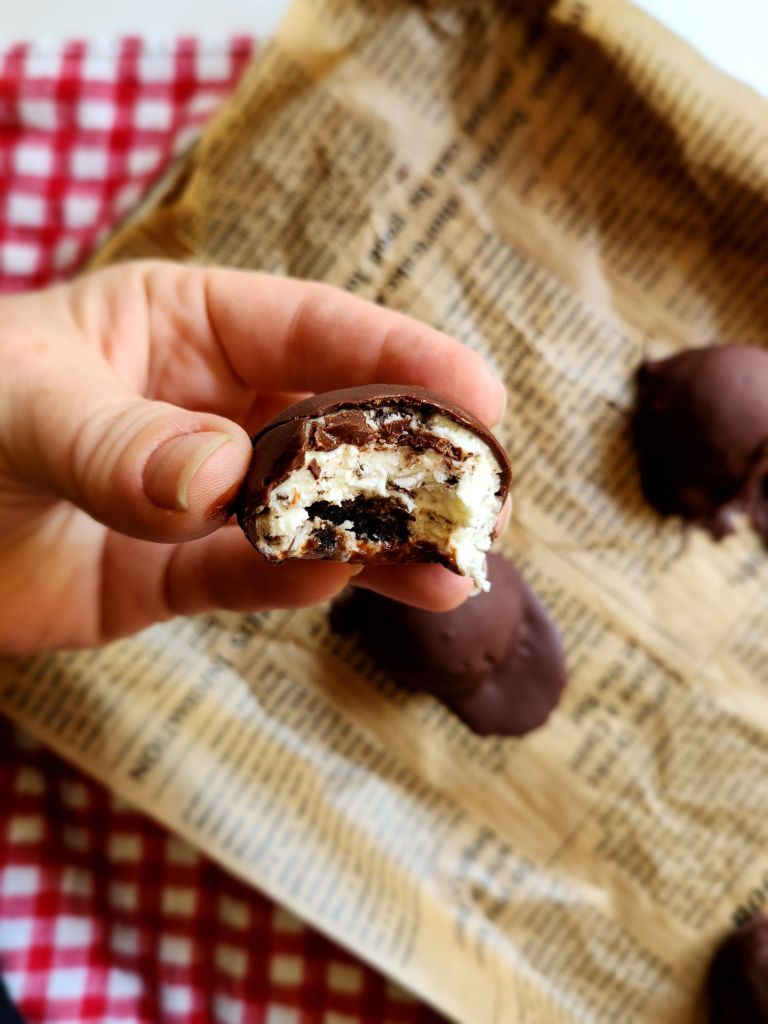
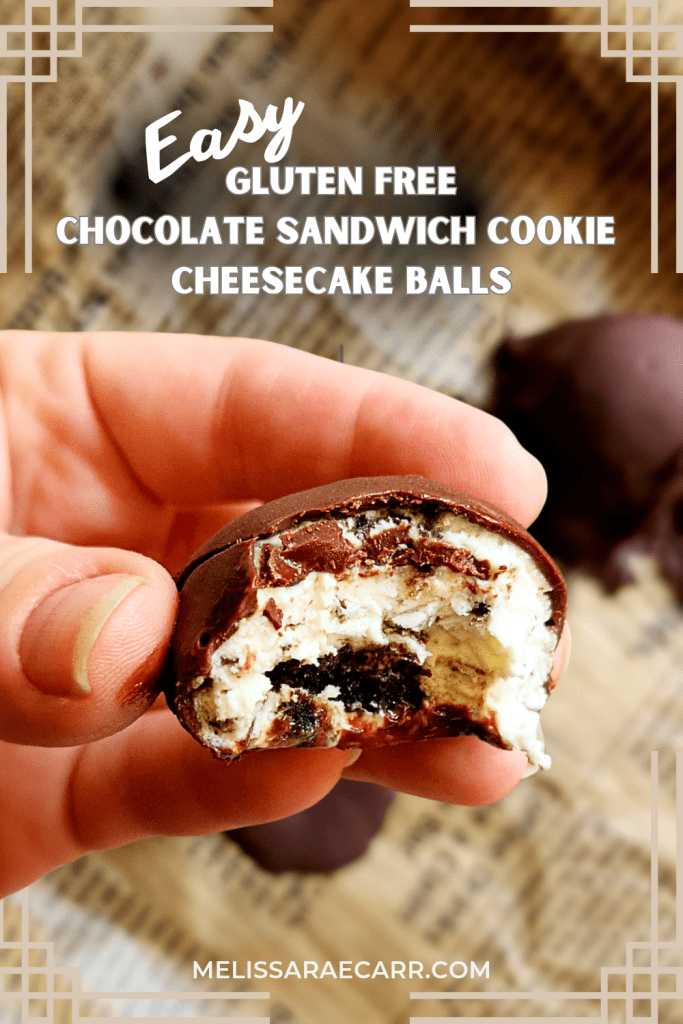
No Bake Chocolate Sandwich Cookie Cheesecake Balls
If you’re looking for a rich, creamy, chocolatey bite-sized treat that’s gluten-free and incredibly easy to make, these No Bake Chocolate Sandwich Cookie Cheesecake Balls are a must-try.
Sometimes referred to as Oreo truffles, this simple no-bake dessert only requires a few pantry staples and comes together quickly with the help of a food processor or a rolling pin and a freezer bag.

Whether you’re prepping for the holiday season, adding to your cookie platters, or just wanting to make something sweet for your family, this recipe delivers big flavor with minimal effort.
What Are Oreo Truffle Balls?
Oreo truffle balls are a no-bake dessert made from crushed chocolate sandwich cookies mixed with softened cream cheese, then rolled into balls and coated in melted chocolate. They taste like a bite of chocolate cheesecake and are incredibly customizable.
Though traditionally made with regular Oreos, this version uses certified gluten-free chocolate sandwich cookies so that even those avoiding gluten can enjoy one of the easiest and most satisfying desserts.
Ingredients for Gluten-Free Oreo Balls
You only need a few simple ingredients to get started:
- Heavy cream
- Vanilla extract
- Stevia
- Cream cheese; room temperature
- Confectioners erythritol or Sugar Free Powdered Sugar
- Hand Mixer or Electric Mixer
- Mixing Bowls
- Baking sheet lined with parchment paper or wax paper
- 1 package (approx. 14 oz) gluten-free chocolate sandwich cookies like Catalina Crunch, Glutino Brands, or gluten free chocolate wafers
Tools You’ll Need
- Food processor or freezer bag and rolling pin
- Electric hand mixer or stand mixer with paddle attachment
- Glass bowl or heatproof bowl for melting chocolate
- Small cookie scoop
- Parchment paper or wax paper
- Cookie sheet or small baking sheet
- Airtight container for storage
How to Make Gluten-Free Oreo Cheesecake Balls
Make sure you let your cream cheese sit at room temperature for at least 20 minutes.
This allows it to become very soft for easy blending and makes a world of difference in getting the creamiest no bake cheesecake dough.
You can soften the cream cheese quickly by placing in a plastic zip bag then a bowl of warm water for 10 minutes.

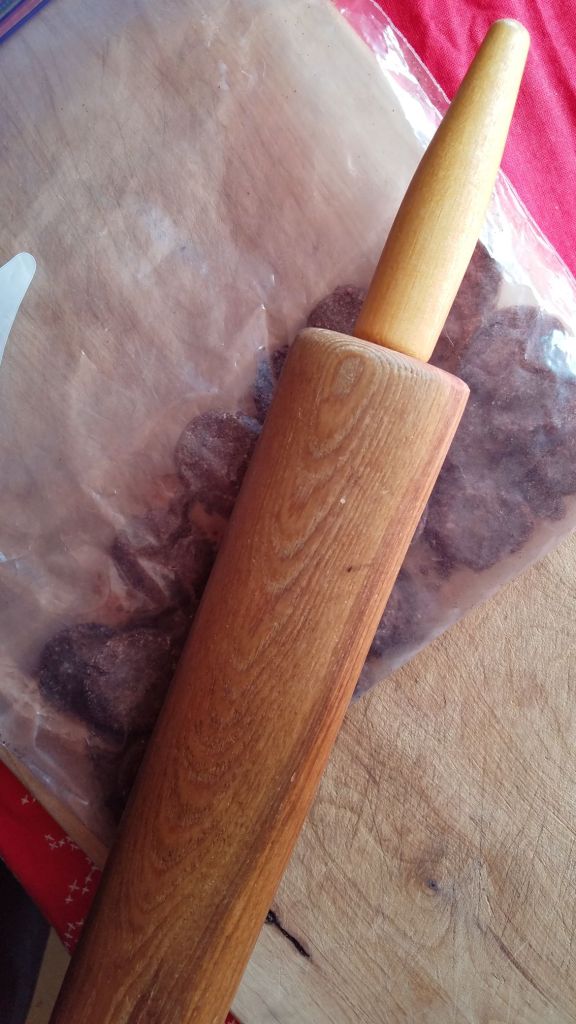
The first thing you’ll do is process the cookies into fine crumbs. A food processor works best for this, but if you don’t have one, place oreo cookies in a freezer bag, seal tightly, and crush them with a rolling pin until the mixture resembles coarse sand.
There’s no need to remove the filling from the cookies—it helps bind the truffle dough.
Now with a large mixing bowl, make some fresh whipped cream!
Fresh is best as you will only get to make your no bake cheesecake bites recipe completely keto friendly when you make your own sugar free whipped cream.
Take a large bowl of a stand mixer plus beaters and put in the freezer for 20 minutes. This is the best way to get the fluffiest whipped cream.
Now take your bowl and beaters and whip up your heavy cream with the vanilla and liquid stevia from the whipped cream step.
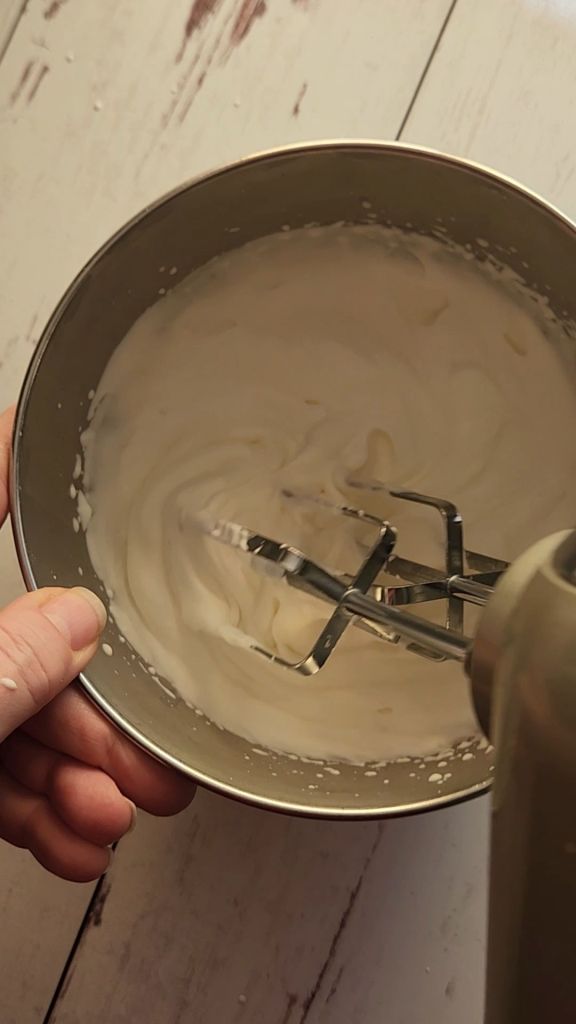
Whip until you get stiff peaks because if you go any longer than that you will have butter.
Next you need a large bowl to mix up your creamy cheesecake batter! Take some room temperature cream cheese and whip it well with the confectioners erythritol or sugar free powdered sugar replacement.

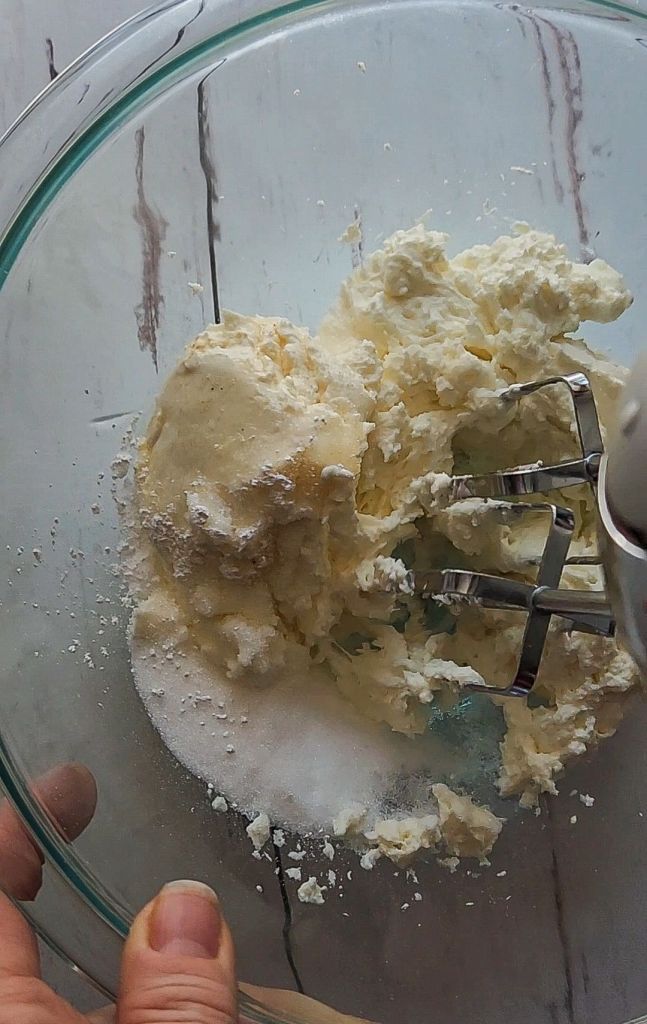
If you do not have any confectioners erythritol you can use granulated monk fruit instead. You will need to mix it almost twice as long to get the granules to dissolve so it does not leave a crunchy texture.

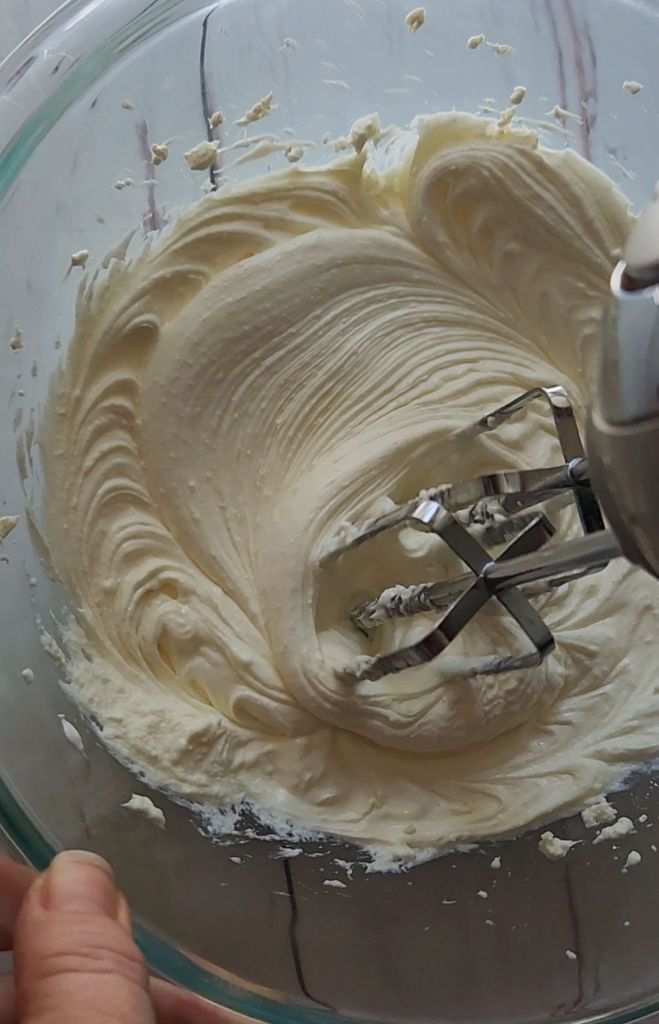
Once the cream cheese is well creamed with the sweetener, add in the vanilla extract. Make sure to scrape the sides with a rubber spatula to get all the bits of sweetener and cream cheese blended well then blend again until smooth.
Now fold the whipped cream into the whipped cream cheese mixture on low speed with your stand mixer.
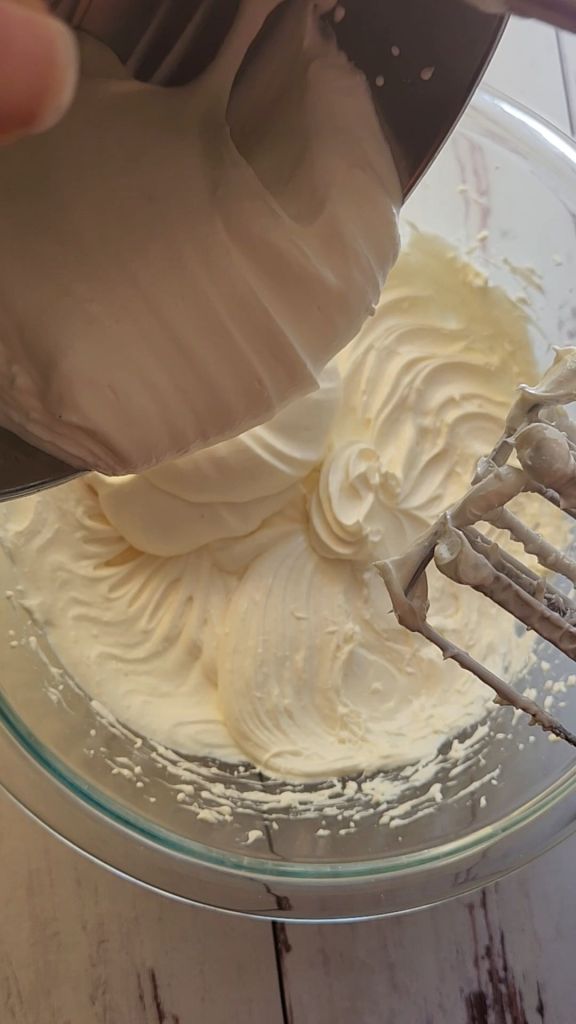
After it is blended turn the mixer up to a medium-high speed to really get the air whipped into the batter well resulting in a light and creamy batter.
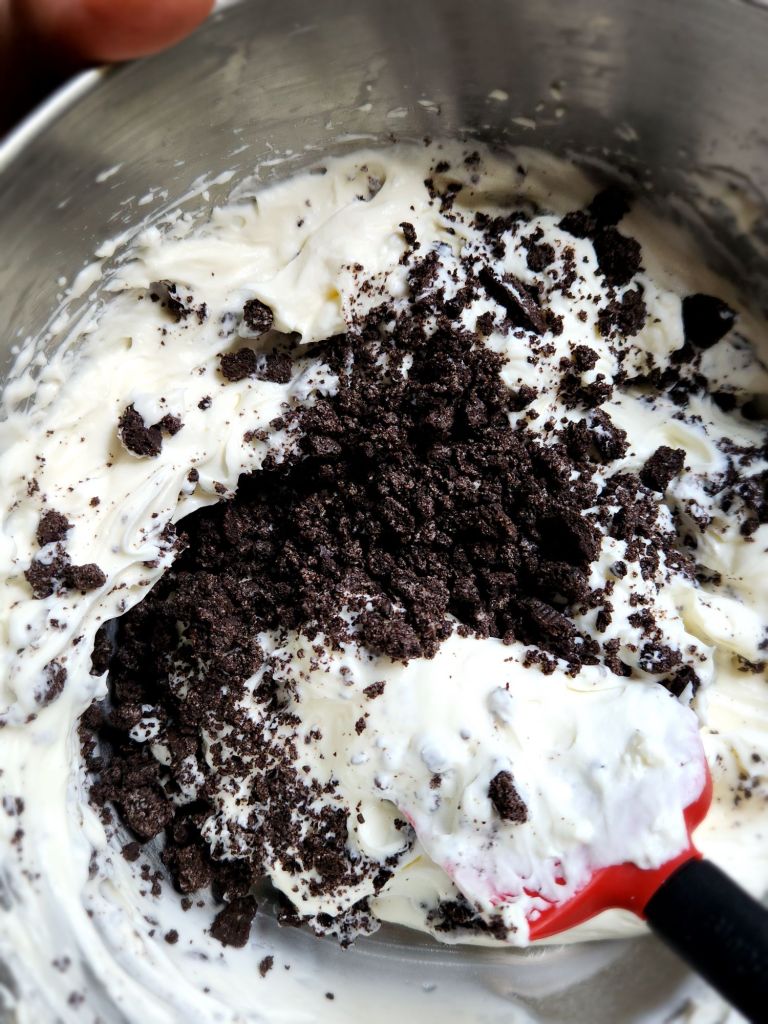
Stop to scrape the sides of the bowl a few times to get a super creamy mixture! Fold in the crushed gluten free chocolate cookie pieces.
Now the prepared batter needs to thicken up in the fridge for 2-4 hours minimum in an airtight container or plastic wrap over a glass bowl.
Make sure you wait this time, so the batter has time to meld together with the gluten free Oreo crumbs and thicken up. Once it has had time to cool and thicken up in the fridge it is time to make the balls.
Now it’s time to scoop up each No Bake Bite!
Prepare a cookie sheet for the next step by covering in parchment paper or wax paper. If you don’t have any, spraying the baking sheet with nonstick cooking spray will work.
At this time, you will need a small cookie scoop to portion out the no bake cheesecake filling into 1-inch balls.
Place the no bake Oreo cheesecake balls in a single layer on a parchment paper or wax paper-lined cookie sheet or baking tray.
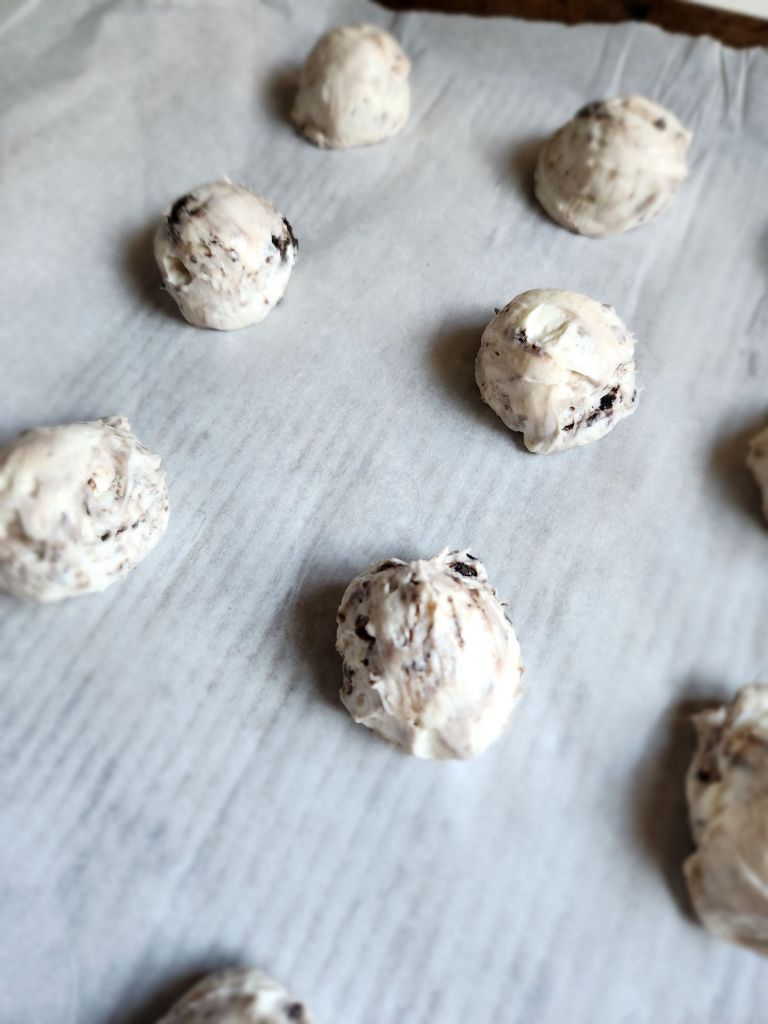
You can place them close together but not touching so you can fit as many as you can on one prepared baking sheet.
Now you will need to freeze them at least 4 hours or overnight for the best results. Working with frozen balls makes dipping easier and cleaner before you go to the chocolate dipping step. If you try to coat them with the melted chocolate ganache and they are not frozen, they will melt.
Let’s coat the cheesecake balls in chocolate
I prefer to coat them with melted chocolate in a dipping method. This method takes some quick action and patience as the cheesecake balls thaw quickly in the warm chocolate.
Take 1 cup of chocolate chips or chopped chocolate bar of your choice and melt in a double boiler. You can easily make a double boiler by putting a small heat-safe bowl, preferably a glass bowl, over a small saucepan of boiling water.
Make sure the boiling water is only a small amount and doesn’t touch the heatproof bowl. Once the chips have melted, remove them from the heat and stir in 1/4 cup of non-melted chocolate chips. This helps to bring the temperature of the chocolate down a bit but still leaves it melted.

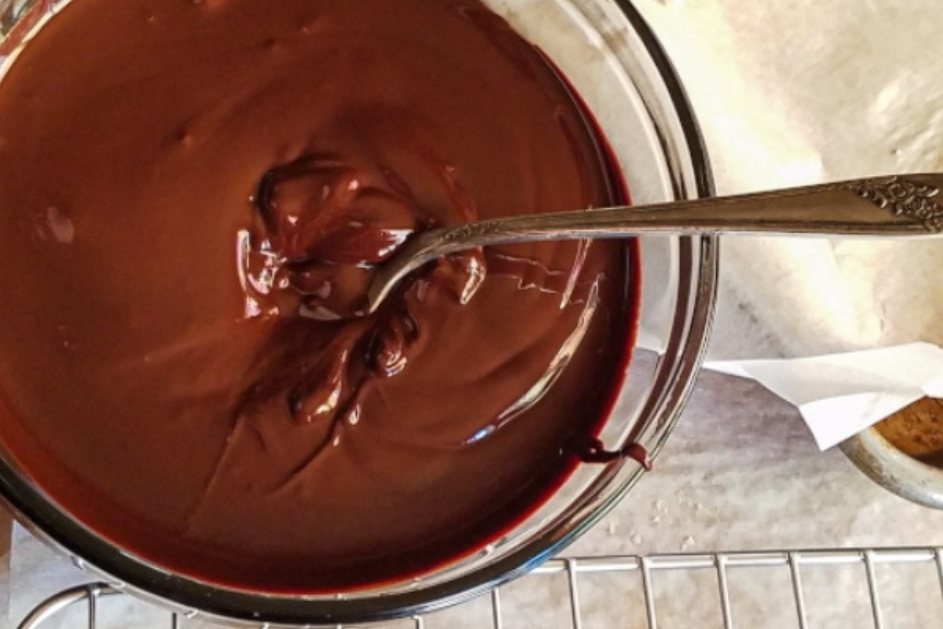
It is sort of like tempering real chocolate, but no thermometer is needed. If your chocolate is too thick, stir in a teaspoon coconut oil for a smoother coating.
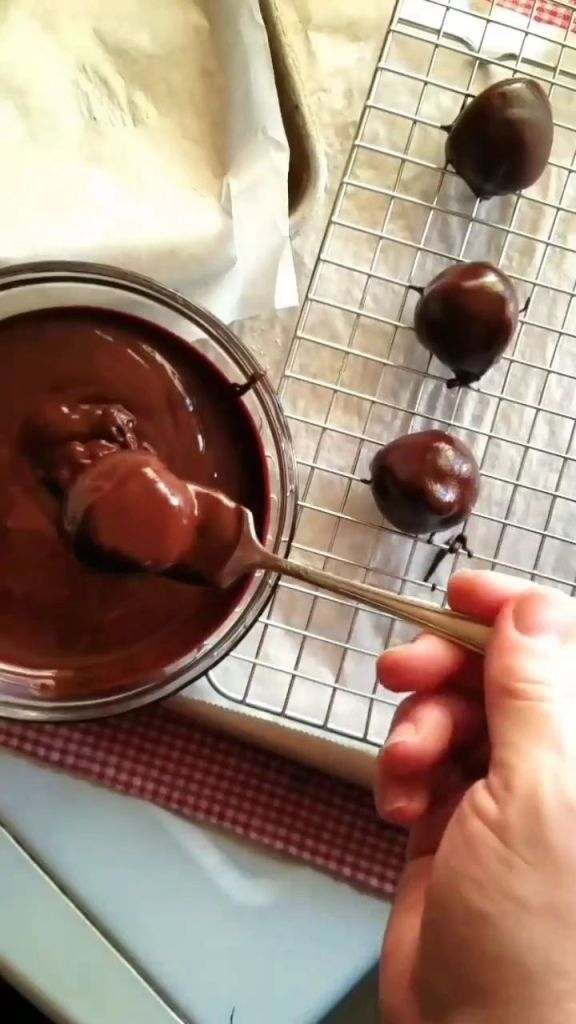
Now take the cheesecake ball and drop it in the middle of the melted chocolate.

Quickly spoon melted chocolate over the top of it and only touch it with a fork to gently lift it out of the chocolate.
Make sure to let any excess chocolate drip off by tapping the fork gently on the edge of the bowl.
Now place the chocolate rolled balls right back onto the parchment lined pan that has a wire rack on it. This allows for the chocolate to drip through and not pool up.
You may want to spray the wire rack with cooking spray, so the chocolate doesn’t stick to it. Alternately, just put right back on the parchment lined baking sheet.
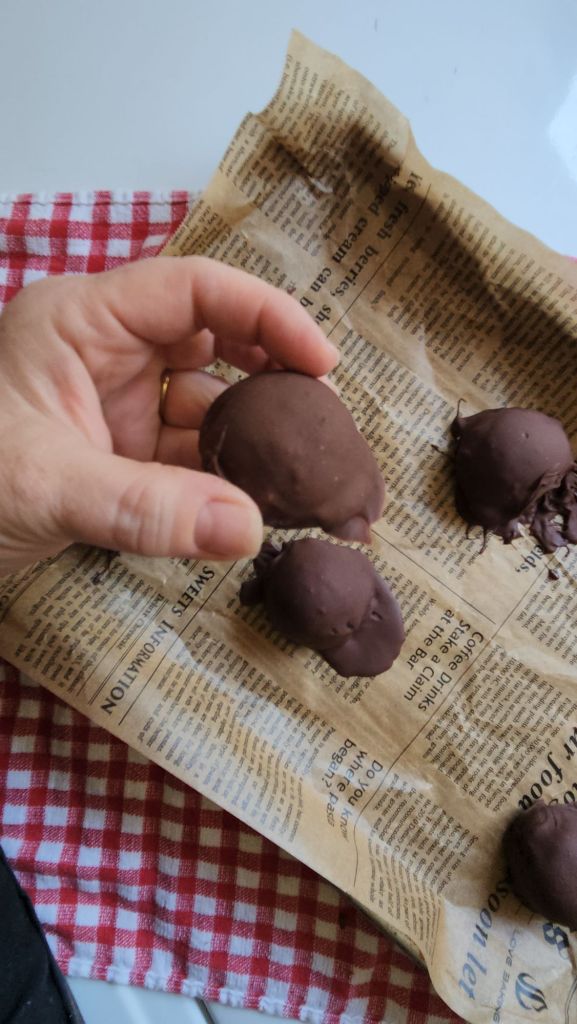
Repeat with all of the round balls until they have all been covered.
Depending on how large of a cookie scoop you used will determine if you need additional melted chocolate to cover them all or not!
Now return them to the freezer for at least an hour until the chocolate has set and the cheesecake batter inside has set again.
If you have covered them with chocolate correctly, there should be no cheesecake batter showing.

Now you can store them in the fridge for a delicious treat whenever the cheesecake craving strikes! This way you get the perfect bite every time. If you try to eat them right out of the freezer the cheesecake batter is too hard to bite.
The happy medium is to get the chocolate coating hard and set so it can contain the batter when it thaws out to a softer consistency. I keep mine in the fridge in a plastic bag for quick bites when the craving hits!
Transfer to an airtight container or zipped-top bag, layering with parchment paper or wax paper to prevent sticking. These will keep well in the refrigerator for up to one week or can be frozen for up to two months.
Tips, Substitutions, and FAQs
- Turn these into cheesecake pops by freezing the non-dipped balls with sticks stuck in them. It will make dipping easier too!
- Try a coating of white chocolate instead of the regular chocolate. Then right after coating, put them back on the prepared tray, and sprinkle with crushed cookie crumbs.
- Turn this cheesecake mixture into a mini no bake dessert. They make the best mini cheesecakes when you pour into small jars instead of scooping into balls! Start off with making a graham cracker crust by crushing gluten free graham crackers in a food processor then mixing with a few tablespoons of melted butter. Press the graham cracker mixture in the bottom before topping with the cheesecake batter.
- Take these easy mini cheesecake bites to the next level by adding in 1 tablespoon of cocoa powder to the batter for a chocolate cheesecake batter!
- If you are coating with the white chocolate adorn it with a chocolate drizzle! Take some melted dark chocolate and put a thin stream over them all! The easy way to do this is to use a small zip top bag and cut a tiny corner off, then pipe over all of the bites.
- Take this amazing recipe to the next level when you swirl vanilla and chocolate together. Take half of the batter and whip in 1 1/2 tsp cocoa powder. Now add it back to the original batter. Stir a few strokes THEN put in the fridge to set. Proceed as normal.
Can I use the candy melts from the grocery store as my coating instead of chocolate chips? Yes, that would work just fine. Keep in mind the ingredients and possible gluten or sugar in them. Candy melts or candy coating does stand up to being at room temperature like for an event better than chocolate chips unless you temper the chocolate chips.
What about turning these into peanut butter or almond butter cheesecake bites? Next time you can try turning these decadent cheesecake bites into peanut butter treats! Stir in 2 tablespoons into the main cheesecake batter before chilling and scooping.
Can I use sugar free whipped topping instead of making my own with whipping cream? Yes! You can use pre-made whipped topping that is sugar free. It will make one less step and will still turn out.
Can I melt the chocolate in a microwave instead of a double boiler? Yes! In a microwave-safe bowl, melt in short bursts of 20–30 seconds, stirring between each burst to avoid burning.
How can I make this easy dessert with more flavor variations? You can add a finishing touch to the easy oreo balls with chocolate drizzles using white chocolate chips, cookie crumbs, crushed peppermint sticks, or even finely crushed candy canes if you’re preparing them during Christmas time. You can also use a different flavor of oreo cookies to give it a different flavor. Since Oreos that are gluten free and/or sugar free do not come in fun flavors yet, try these variations: 1/4 teaspoon of mint extract for a mint oreos version or add 2 tablespoons peanut butter to the batter for a peanut butter oreos version.
Can I use dairy-free cream cheese?
Yes, you can substitute with a dairy-free version to make the recipe suitable for dairy-free diets. Just make sure it’s softened before mixing.
Can I double the batch? Absolutely. This recipe scales well. Just keep your truffles in a single layer when chilling and store them properly.
These are the perfect treat whether you’re making this no bake treat for the first time or keeping them in your rotation of favorite treats to quench a sweet tooth.
It is a reliable recipe option to keep in your back pocket — especially when you need something quick and easy with a crowd-pleasing unique flavor that is freezer-friendly, and easy to share any time of year.


No Bake Chocolate Sandwich Cookie Cheesecake Balls
Equipment
- Parchment paper or Wax Paper
- hand mixer or electric mixer
- flat cookie sheet
- Cookie Scoop or Tablespoon
- large mixing bowl
Ingredients
Whipped Cream
- 1 cup heavy cream
- 1 tsp vanilla extract
- 1/2 tsp liquid stevia
Cream Cheese Mixture
- 12 oz cream cheese; room temperature 1 and 1/2 pkgs of cream cheese blocks
- 1/2 tsp vanilla extract
- 3 tbsp confectioners erythritol or granulated monkfruit
- 20 gluten free chocolate sandwich cookies crushed in a zip bag
- 1 tsp stevia
- 1 cup sugar free chocolate chips
Instructions
Whipped Cream
- In a small bowl with an electric mixer, whip the heavy cream with sweetener and extracts.1 cup heavy cream, 1 tsp vanilla extract, 1/2 tsp liquid stevia, 1 tsp stevia
- Whip until soft peaks form then set aside.
Cream Cheese Mixture
- In a large bowl of an electric mixer, or with hand mixer, whip the cream cheese with the powdered sweetener. If you are using granulated sweetener, mix until smooth and not grainy.12 oz cream cheese; room temperature, 1/2 tsp vanilla extract, 3 tbsp confectioners erythritol
- Add in the extracts and whip well.
Cheesecake Batter
- Now add the whipped cream to the cream cheese mixture and whip it with the mixer. Fold the crushed gluten free chocolate sandwich cookies into the batter. Put in fridge for 2 hours or overnight.20 gluten free chocolate sandwich cookies
- After it has set, scoop out the cheesecake batter into balls onto a parchment lined pan. Put it in the freezer 4 hours or overnight for best results.
- Melt 1 cup of chocolate chips or chopped chocolate in a double boiler.1 cup sugar free chocolate chips
- Dip each frozen no bake cheesecake ball in the chocolate one at a time.
- Put back onto the sheet and return to the freezer for 1 hour to harden.
- Now store them in the fridge for easy eating.
- Keeps up to 1 week in the fridge. Freeze for long term storage up to 2 months.
Notes
| Nutrition Facts | |
|---|---|
| Serving size: 1 cheesecake ball | |
| Servings: 12 | |
| Amount per serving | |
| Calories | 167 |
| % Daily Value* | |
| Total Fat 17.2g | 22% |
| Saturated Fat 10.8g | 54% |
| Cholesterol 58mg | 19% |
| Sodium 91mg | 4% |
| Total Carbohydrate 1.3g | 0% |
| Dietary Fiber 0g | 0% |
| Total Sugars 0.1g | |
| Protein 2.6g | |
| Vitamin D 10mcg | 52% |
| Calcium 36mg | 3% |
| Iron 0mg | 2% |
| Potassium 49mg | 1% |
Nutrition
Don’t forget to PIN the pinnable recipe card to your Pinterest board or print the printable recipe card.
Full disclosure, we are affiliates with various companies and earn a small commission from these companies when you purchase through my affiliate links. This is at no extra cost to you.
Thank you for supporting my site by leaving a five-star review plus leaving a comment in the comment section with your results. Leaving 5 star ratings helps my recipe to be seen by more people which helps others have options too!

Your email address is never sold or used. Review my privacy policy for further details regarding this.
This helps my simple recipes for tasty dinners to be shown to more people for my websites’ success!
Come follow me on social media as well as I post new recipes and videos on Instagram and Pinterest all the time!
If you love cast iron skillets and healthy eating as much as I do, then you will absolutely LOVE my 2nd cookbook “Chaffles Cast Iron and The Crock”!!


Check out these other great low carb recipes using cream cheese!
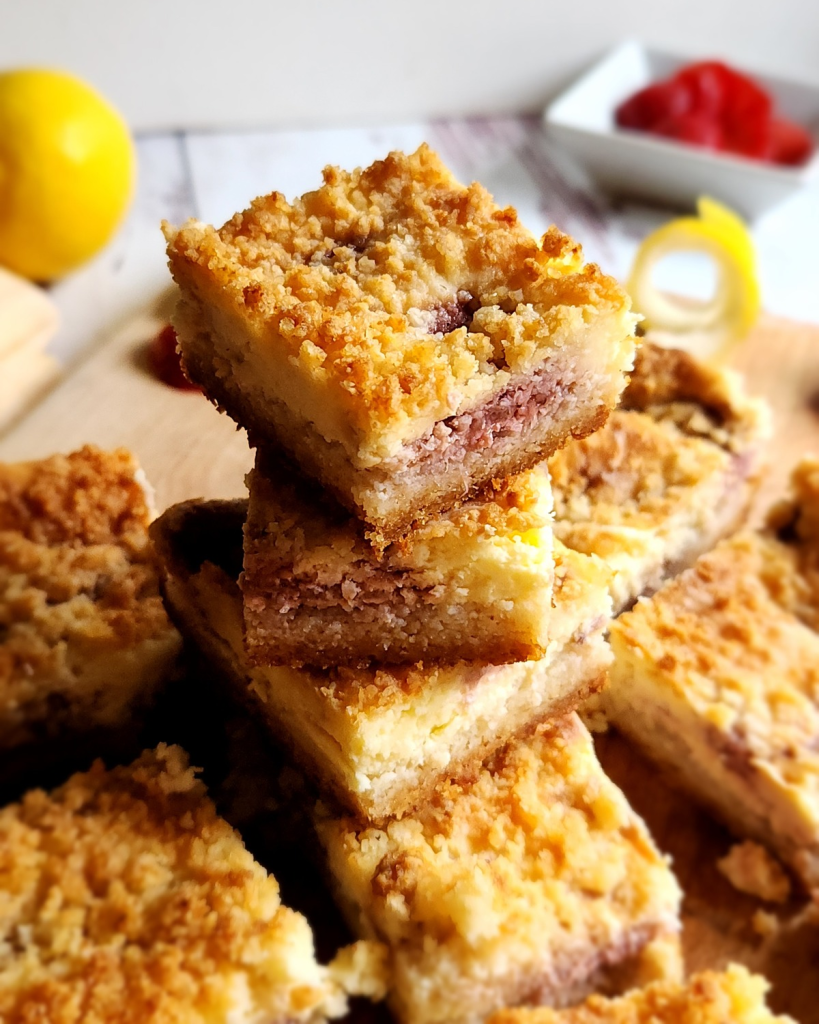
Gluten Free Low Carb Strawberry Lemon Cheesecake Bars

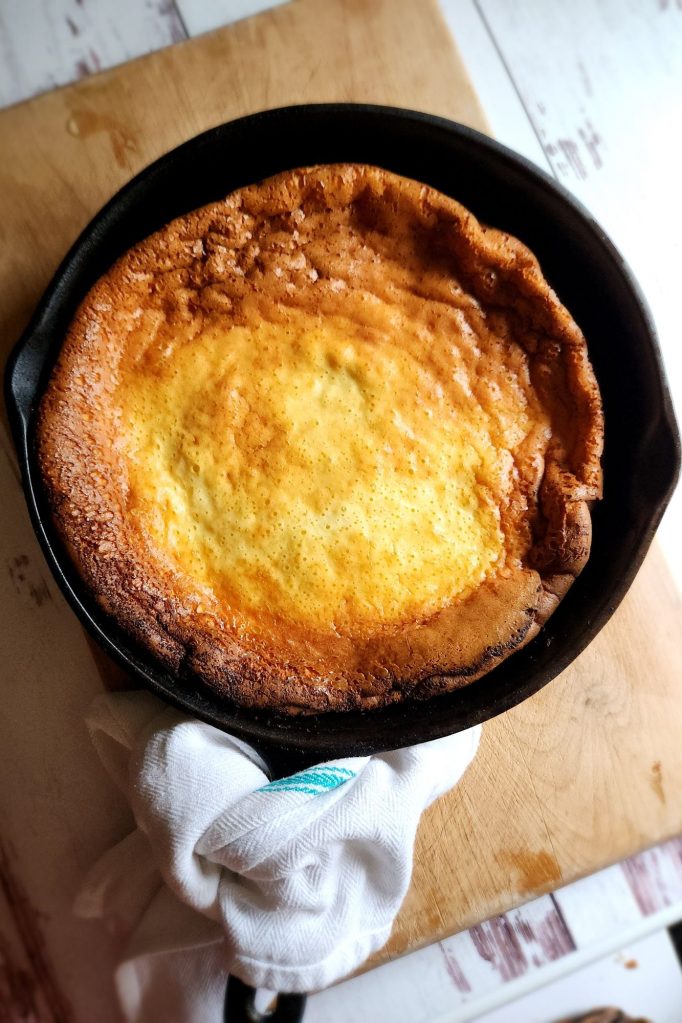
The Best Gluten Free Keto Dutch Baby Pancake Recipe

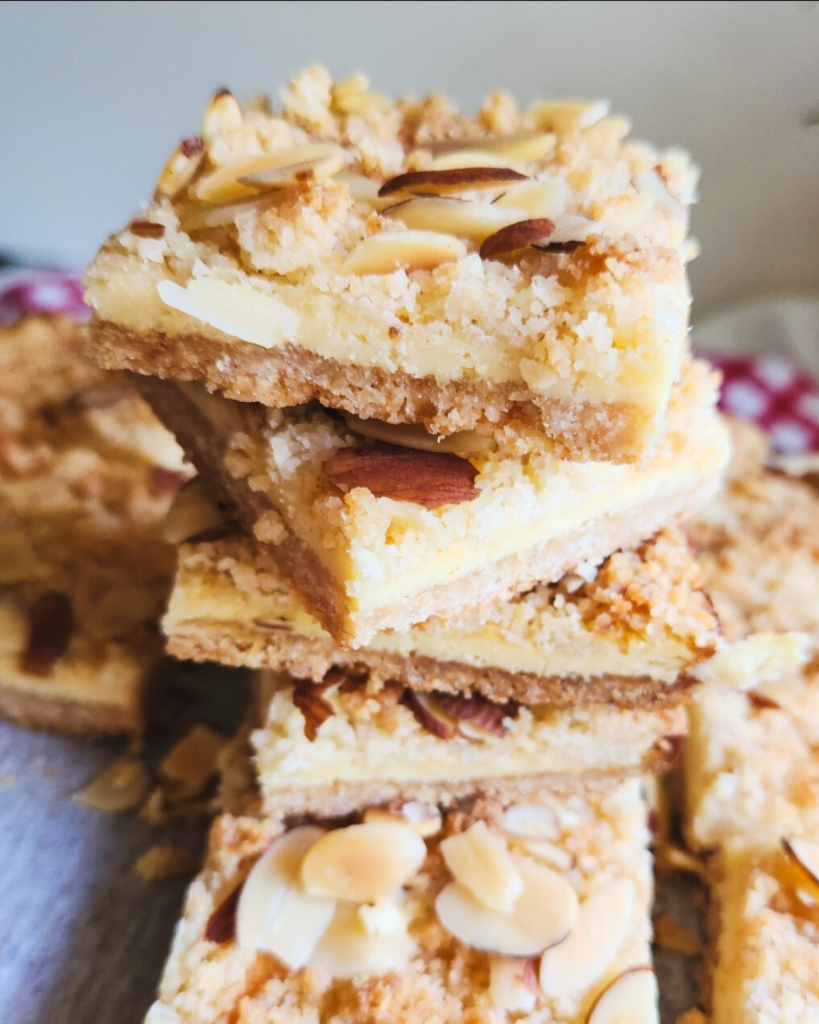
Easy Low Carb Almond Cheesecake Crumble Bars Recipe
Air Fryer Recipes Beef Bread Breakfast Cakes Coconut Flour Cold Drinks Cookies and Bars Crockpot Recipes Dairy Free Desserts DIY Recipes Donuts Drinks Hot & Cold Fall Recipes Holiday Recipes Hot Drinks Ice Cream & Toppings Instant Pot Recipes Keto Condiments Keto Ingredients Kitchen Tips & Tricks Low Carb Side Dishes Main Dish Muffins Pies Pork Poultry & Seafood Pumpkin Puree Recipes Quick Gluten Free Lunches/Snacks Seasonal Recipes Skillet Meals Summer Recipes Uncategorized Waffles and Pancakes Winter Recipes