



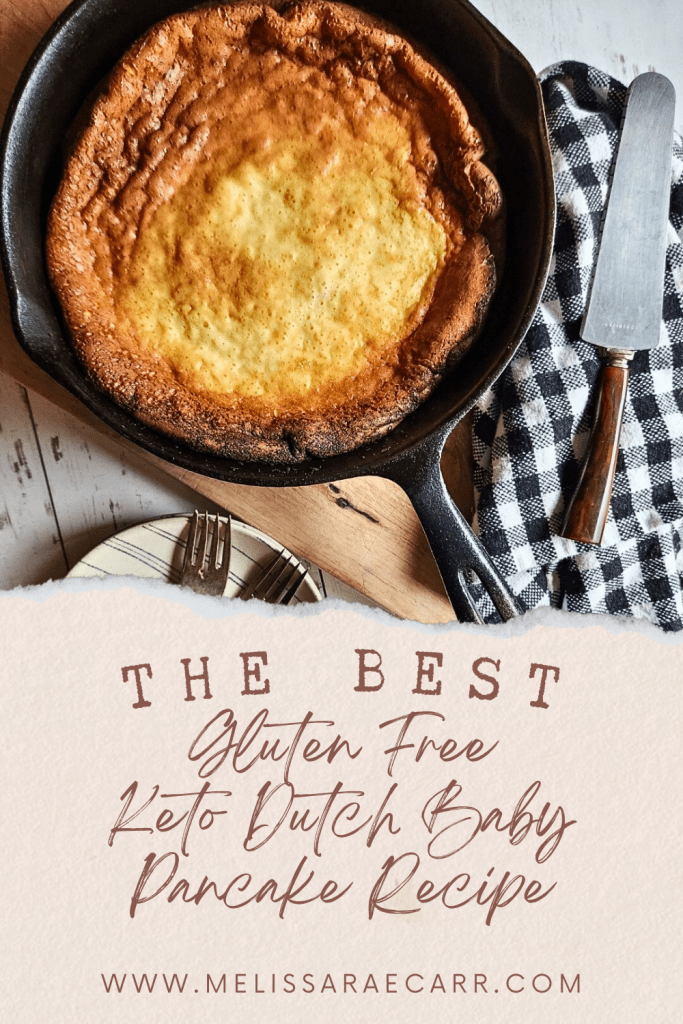
The Best Gluten Free Keto Dutch Baby Pancake Recipe
An easy way to get breakfast on the table quickly and make your house smell amazing is to make The Best Gluten Free Keto Dutch Baby Recipe!
Dutch Baby, also known as a German pancake, is an easy way to create pancakes easily in one pan and make breakfast a family favorite again safe for gluten free diets.

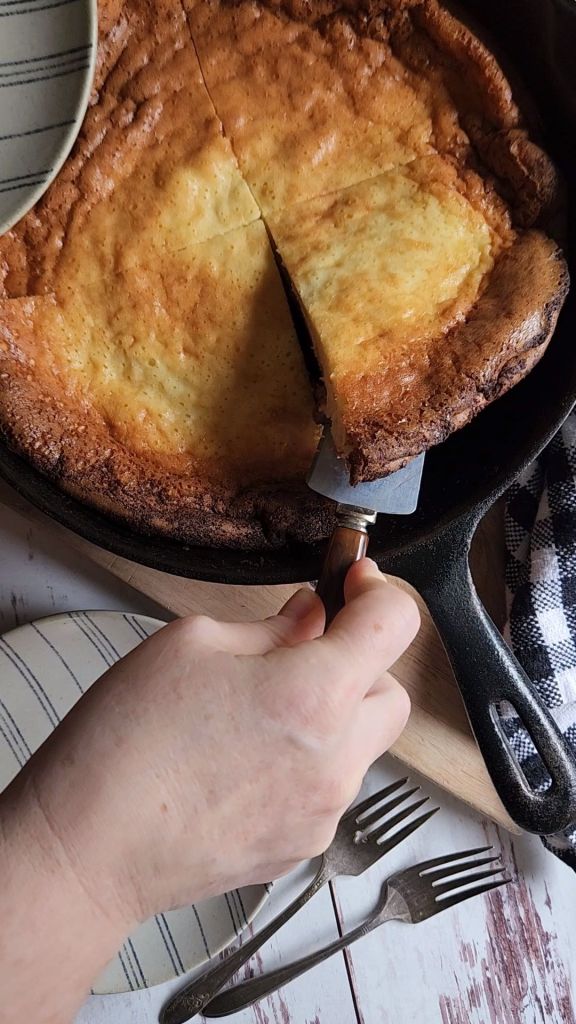
Making a keto-friendly, gluten-free Dutch Baby Pancake is quick and easy as the batter is blended in the blender for the smoothest texture making this one of the most delicious breakfast recipes.
It only requires minimal ingredients and all bakes up in a trusty cast iron skillet which makes it perfect for special occasions like Mother’s Day Brunch or a slow weekend morning when everyone is at the breakfast table.

This recipe is completely safe for anyone who has a gluten intolerance as are all of my recipes since they are all gluten free, low carb, sugar free recipes.
I will show you what you need to make it, tips on how to make it perfect as well as answer any frequent questions that may come up.
Keep reading as I also share with you a way to make this gluten free fluffy pancake recipe into gluten-free dutch babies in the air fryer.
History of the Traditional Dutch Baby

The history behind Dutch Babies and German pancakes did not originate in the Netherlands.
The term “Dutch” likely evolved from the Pennsylvania Dutch, a group of German immigrants in the United States.
The original German pancake recipe, also known as Pfannkuchen, is a traditional German breakfast recipe that dates back centuries.
This skillet pancake differs from the American-style regular pancakes made with all purpose flour and is closer to a Yorkshire pudding, since it has a light custard base that is heavy on the eggs.
Dutch Baby recipes, or a puffed pancake recipe as we know it as today, gained popularity in the United States in the early 20th century.
Dutch Baby vs. Similar Breakfast Pancakes: Key Differences
| Pancake Type | Cooking Method | Key Characteristic |
| Dutch Baby | Oven-baked in skillet | Dramatic puff & deflation |
| Yorkshire Pudding | Oven-baked in muffin tins | Savory, served with roast |
| American Pancake | Stovetop griddle | Thick, fluffy, baking powder rise |
| German Pfannkuchen | Stovetop skillet | Thin, crepe-like, egg-heavy |
The key to the best Gluten-Free Dutch Baby Pancake is using a Cast Iron Skillet


For the best results, you need the key element to creating the perfect Dutch Baby, a cast iron skillet.
Pre-heating the cast iron skillet in the oven before beginning ensures you have a hot skillet to pour the pancake-like batter into for signature crispy edges.
The cast iron skillet also evenly distributes heat which creates a puffy pancake with a golden-brown exterior and a light, fluffy interior.
If you do not have a cast iron skillet then choose a casserole dish that is stoneware or enamelware.
Glass pans will work in a pinch but use it as a last resort.
Make sure you have a well seasoned cast iron skillet so your Dutch pancake comes right out of it.
Pan Material Performance for Dutch Baby Success
| Pan Type | Heat Distribution | Result Quality |
| Cast Iron | Excellent & even | Perfect puff, crispy edges |
| Stoneware/Enamelware | Good retention | Good rise, less browning |
| Glass Baking Dish | Uneven heating | Moderate puff, pale color |
| Metal Pie Plate | Heats too quickly | Inconsistent results |
The Science Behind the Perfect Puff: Why Temperature Staging Creates Dutch Baby Magic
Most Dutch Baby recipes tell you to preheat the pan, but they don’t explain the thermal chemistry that makes this breakfast spectacular. Here’s what’s really happening:
The Three-Temperature Method:
Stage 1: The Butter Pre-Heat (Oven warming to 425°F)
Placing butter in the cold skillet as the oven heats slowly browns the milk solids without burning, creating nutty flavor compounds called Maillard reactions that deepen the taste profile.
Stage 2: The Warm Batter Blend (Melted butter/coconut oil addition)
Adding warm fats to cold eggs would normally scramble them. By blending on low while streaming in the melted mixture, you’re creating an emulsion that brings the batter to 80-90°F—the ideal temperature for maximum rise without cooking the proteins prematurely.
Stage 3: The Thermal Shock (Batter meets 425°F pan)
When room-temperature-plus batter hits the screaming hot cast iron, the moisture instantly converts to steam, creating dramatic lift. Cast iron’s heat retention ensures the sides set before the center, forming the signature bowl shape.
Why This Matters for Keto Baking:
Almond flour doesn’t contain gluten’s elastic structure, so you can’t rely on protein networks for rise. Instead, this recipe leverages pure steam expansion—which is why temperature control is absolutely critical for gluten-free success.
What you will need to make The Best Gluten Free Keto Dutch Baby Recipe

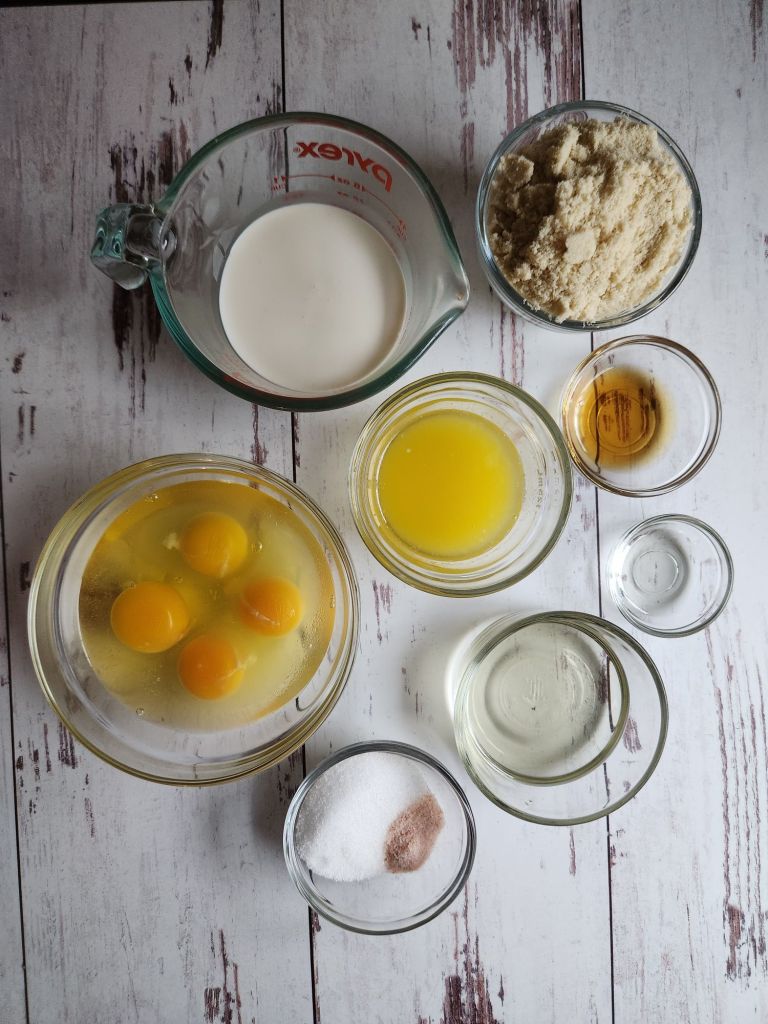
- Eggs
- Heavy Cream
- Almond Flour
- Vanilla Extract
- Lemon Extract or a squeeze of fresh lemon juice
- Monk Fruit Sweetener or favorite granulated sweetener
- Pinch of Salt
- Butter
- Coconut Oil
Lets make up one of the easiest breakfasts
First thing is to have a preheated oven ready at 425F and get out your 10-inch or 12-inch cast iron skillet along with a few tablespoons of butter.
Place butter into the skillet and then place skillet directly into the oven as it preheats.

This will slowly warm up the skillet and brown your butter at the same time.
In a small saucepan, melt your stick of butter along with the coconut oil over medium heat and stir frequently as the butter melts.
You do not want them to burn or smoke so watch carefully and stir them as they melt.
Get out your blender to blend up the batter by adding the ingredients in the order listed to create the fluffy texture.


This is important so you have the liquid ingredients near the blade and the dry ingredients at the top.
Your butter and coconut oil should be melted by now, so slowly pour the coconut oil and melted butter mixture in as you blend on low.
This helps to slowly bring the batter to a warmer temperature without cooking anything.
Blending Order for Maximum Fluffiness
| Order | Ingredient | Why This Matters |
| 1st | Eggs & heavy cream | Liquids near blade for smooth base |
| 2nd | Almond flour on top | Prevents clumping during blend |
| 3rd | Extracts & sweetener | Distributes flavor evenly |
| Last | Warm melted fats (streaming) | Creates emulsion without scrambling |
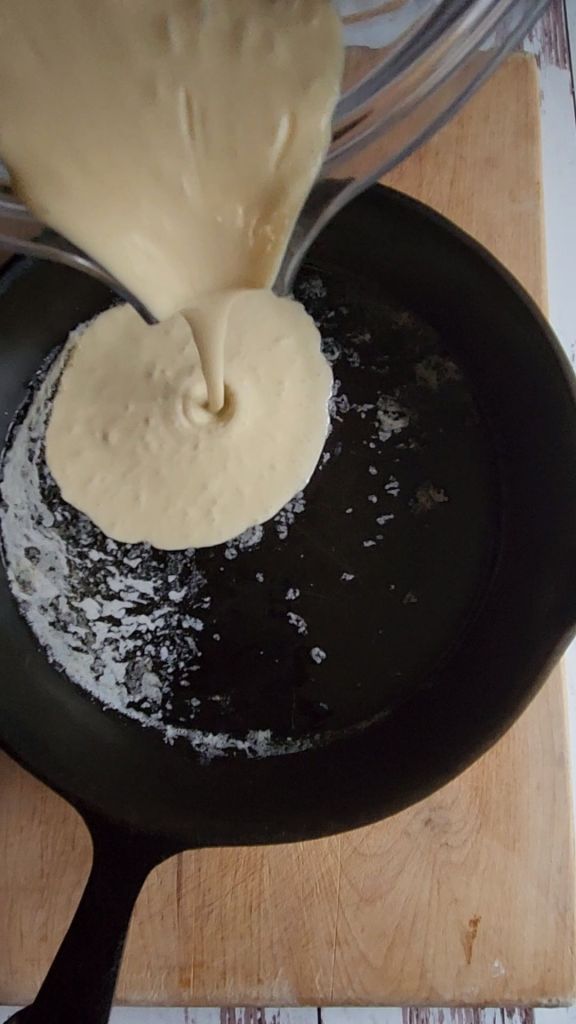
Now that your batter is blended, carefully pull your hot pan out of the oven, swirl the butter around the sides of the skillet to coat the surface, then pour batter into it.
Very carefully place your batter filled hot skillet into the hot oven and bake for 20-23 minutes.

Every oven is different so check at the 20-minute mark.
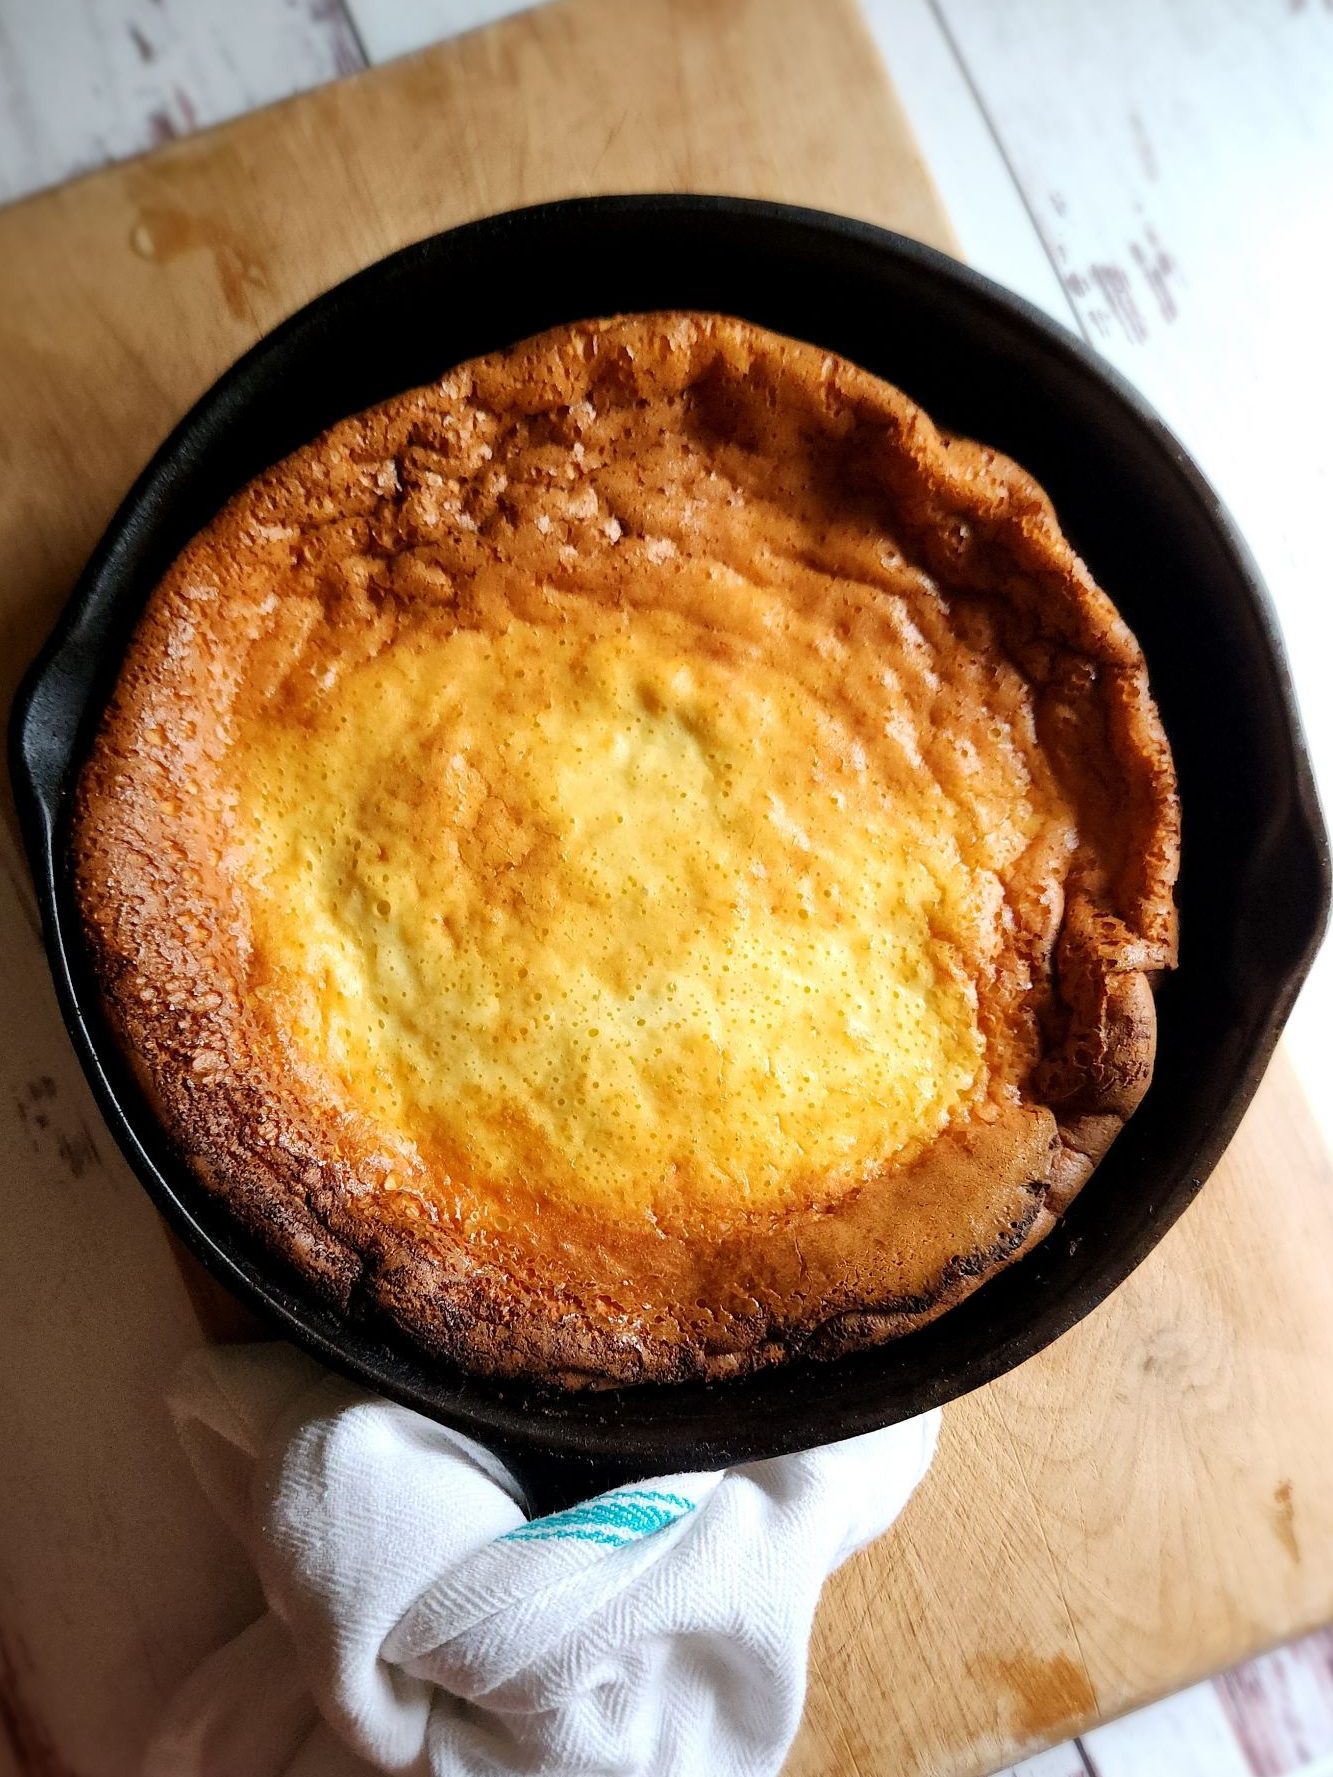
If the sides have browned and puffed up then it is ready.


Remove the Dutch Baby from the oven and let it cool for 5 minutes.
During this time the puff pancake will slowly deflate, which happens to be my kids favorite things about this recipe.

It happens slowly then quickly all at once as the hot air escapes from the oven pancake.

Cut into 4 servings and top with butter, a drizzle of sugar free maple syrup, fresh fruit like fresh berries, or a dollop of whipped cream.
My favorite choice for sugar free maple syrup is from Switch Sweets! It has a great flavor with no aftertaste. Save 10% when you use my code: LOWCARBWITHTHECARRS

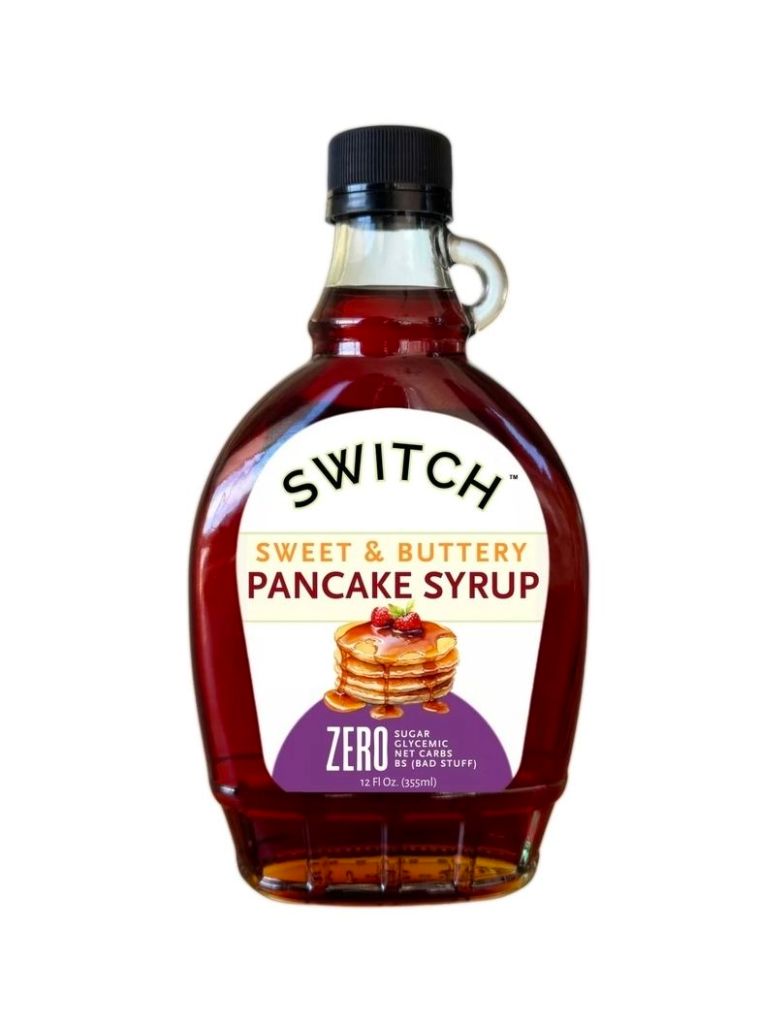
Order here for quick checkout!
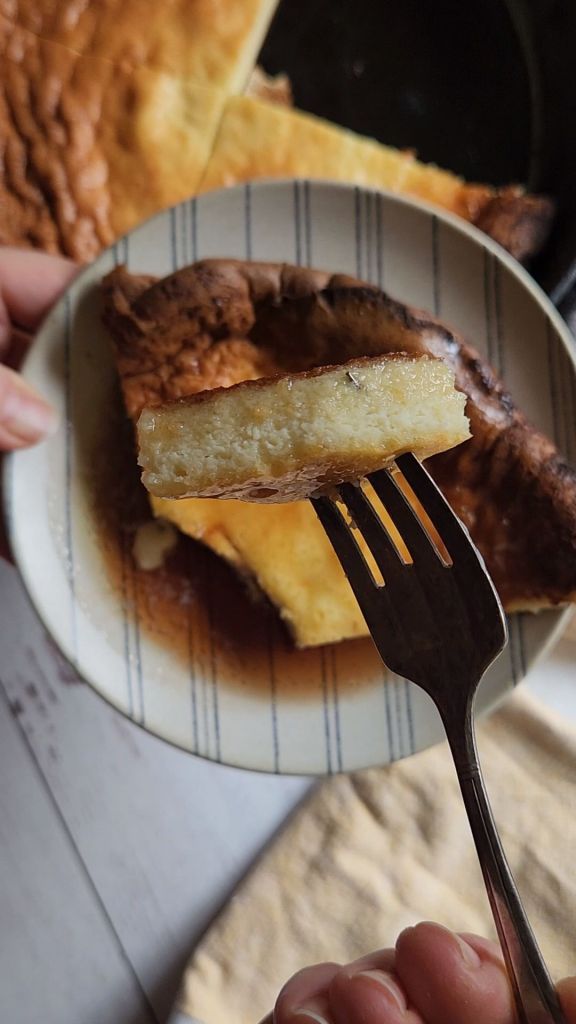
If you have any leftovers, you can store it in an airtight container up to 5 days in the fridge. You can freeze the slices in a zip top freezer bag up to 3 months. I would recommend wrapping it in plastic wrap or foil first to prevent freezer burn then place in the freezer bag.
The Deflation is a Feature, Not a Flaw: How to Use the Collapse for Next-Level Toppings
Every Dutch Baby deflates after leaving the oven, and your kids aren’t the only ones who love watching it happen. That dramatic collapse creates a secret advantage most recipes ignore.
The Crater Effect Strategy:
As the pancake deflates, it naturally forms valleys and ridges. Instead of fighting this:
Sweet Bowl Method:
• Wait exactly 3 minutes after removing from oven
• Add toppings while it’s still actively sinking
• Fresh berries roll into the valleys and get warmed by residual heat
• Whipped cream settles into pockets instead of sliding off
• Syrup pools in the center crater for perfect distribution
Savory Vessel Method:
• Let it deflate completely (5 minutes)
• The bowl shape becomes a natural serving vessel
• Fill with scrambled eggs, cheese, and bacon
• The crispy edges act like an edible plate
• Cut into wedges that hold fillings instead of flat slices that spill
Meal Prep Hack:
Make the mini air fryer versions, let them deflate, then freeze them flat. The collapsed shape means they stack perfectly in freezer bags without breaking, and the valleys catch toppings when reheated.
| Nutrition Facts | |
|---|---|
| Serving size: 1 large slice | |
| Servings: 4 | |
| Amount per serving | |
| Calories | 428 |
| % Daily Value* | |
| Total Fat 43.3g | 55% |
| Saturated Fat 28.4g | 142% |
| Cholesterol 248mg | 83% |
| Sodium 204mg | 9% |
| Total Carbohydrate 1.9g | 1% |
| Dietary Fiber 0.8g | 3% |
| Total Sugars 0.4g | |
| Protein 8g | |
| Vitamin D 29mcg | 147% |
| Calcium 32mg | 2% |
| Iron 1mg | 5% |
| Potassium 72mg | 2% |
How to make this recipe into Gluten Free Keto Dutch Babies in the Air Fryer

Blend up the recipe in the blender just like the original recipe. Pour into 12 silicone muffin cups or 12 greased muffin tins.
Air fry at 425F for 15 minutes until the top is set and light golden brown. They will puff up in the cups just like when you make it in the skillet.
You can alternately bake these dutch baby cups at 425 for 25 min in the oven.
When you bring them out of the air fryer they will deflate just as the larger one does.


Top with butter and some sugar free maple syrup. Keep leftovers in an airtight container in the fridge up to 5 days.
Reheat leftovers in oven or air fryer for 5 minutes for best taste and texture. Freeze these ahead of time for a quick gluten free meal prep option. After you have cooked them, let them cool to room temperature then freeze on a baking sheet for 1 hour then transfer to an airtight freezer bag up to 3 months.
Air Fryer Dutch Baby Cups: Size & Timing Guide
| Muffin Cup Size | Batter Amount | Air Fryer Time at 425°F |
| Standard silicone (12 cups) | Fill 2/3 full | 15 minutes |
| Jumbo silicone (6 cups) | Fill 2/3 full | 18-20 minutes |
| Mini silicone (24 cups) | Fill 3/4 full | 10-12 minutes |
| Oven baked (any size) | Same fill levels | Add 10 minutes to air fryer time |
Tips, Substitutions and FAQs
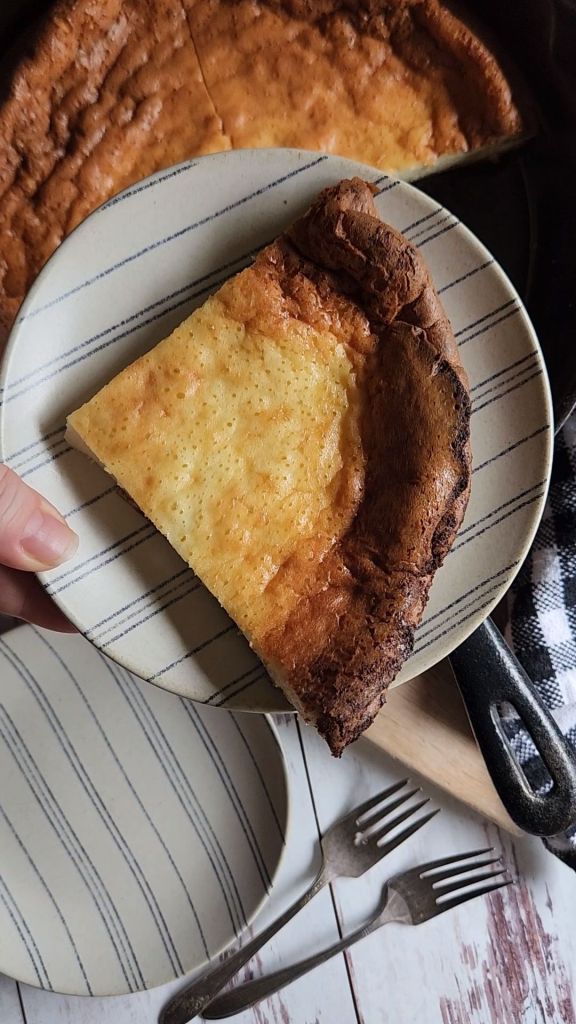
- Turn this recipe into a savory Dutch baby recipe next time when you add a savory twist by incorporating whole foods like cheese, herbs, or cooked bacon into the batter. Just eliminate the sweetener and extracts for best flavor.
- In order to make this a gluten free version that is also low carb I have left out the starchy flours like tapioca flour, rice flour, brown rice flour, potato starch and all purpose gluten-free flour. If you are not concerned with having it be a gluten free Dutch baby then you can substitute in a gluten-free flour blend of your choice for the almond flour used in the recipe 1:1.
- If you do not have a blender, you could always whip this up in a mixing bowl with a stand mixer or hand mixer. That way you are still getting air incorporated into the batter.
- Make this Dutch baby recipe completely dairy free when you make a simple swap with the butter and heavy cream. Earth balance is a dairy free butter that can be used so you still get the fabulous butter taste in your giant popover without dairy. Coconut milk is a great stand in for heavy cream as well. You can try almond milk, oat milk or your favorite dairy-free milk if you want but I have not tried with a thinner milk.
- If you are sensitive to sugar substitutes you can sub in regular sugar or go with coconut sugar which does not spike blood sugar as much.
- You can use whole milk or cow’s milk if you want instead of the heavy cream, but the batter may be too thin. Consider decreasing the eggs by one or try adding in an additional 1/4 cup of flour that you are using so it turns out. You want to make sure it has the consistency of a medium thickness pancake mix batter.
- Make up some of my Sugar Free Copycat IHOP Butter Pecan Syrup to top your Dutch pancake in style!
- You can purchase grocery store gluten free pancake batter and use it to make a puff pancake like this. You would need to add in a few extra eggs to help create the puffiness though.
Is it true that the gluten-free version of the German Pancake tastes as good as the wheat flour version? Absolutely! Almond flour is the gluten-free flour I use in this recipe, and it is very similar in taste when it comes to making recipes without regular flour. Using the blender also helps to get the smooth texture like what wheat flour gives.
Can I substitute the almond flour in this recipe with any other kind of flour? Yes, you can. Just keep in mind that you are wanting to create a smooth batter so choose something with a fine texture like oat flour or Bob’s Red Mill gluten-free flour blend. You cannot however substitute with coconut flour as it would turn out dry. Coconut flour requires more moisture than any other flour so you would have to experiment with amounts plus increasing the egg amounts for it to work.
Flour Substitution Success Chart for Almond Flour Alternatives
| Flour Type | Substitution Ratio | Texture Result |
| Oat flour (GF) | 1:1 replacement | Slightly denser, mild flavor |
| Bob’s Red Mill GF blend | 1:1 replacement | Similar to wheat version |
| Coconut flour | Do not substitute | Requires recipe reformulation |
| All-purpose flour (not GF) | 1:1 replacement | Traditional puff & texture |
Why is a cast iron skillet essential for making a gluten-free keto German pancake? The cast iron skillet is crucial for even heat distribution, creating the perfect texture – crispy edges and a puffy center. You can however use a large pie plate or 8×8 baking pan if you do not have a cast iron skillet. It will still turn out but not be as browned as if you baked it in the cast iron skillet.
Is it necessary to preheat the cast iron skillet, and why? Preheating the cast iron skillet is crucial. It ensures that the pancake begins cooking immediately upon contact, creating the characteristic puff and rise. A hot skillet is key to achieving the perfect German pancake.
Can I make the batter ahead of time and refrigerate it for later use? It is best to bake the German pancake immediately after mixing for optimal puffiness. You can prepare the batter ahead of time and refrigerate it. You must be sure to bring it to room temperature before pouring it into the hot skillet for baking or it will not turn out right and puff up like you want.
Can I make this Dutch Baby without a blender?
Yes, you can use a stand mixer or hand mixer in a mixing bowl instead. The key is incorporating enough air into the batter to create the signature puff, so beat on medium-high speed for 2-3 minutes until the batter is smooth and slightly frothy before adding the melted butter mixture.
Why does my Dutch Baby puff unevenly or only on one side?
Uneven puffing usually indicates that your oven has hot spots or the pan wasn’t properly preheated. To fix this, rotate your oven racks to the center position, ensure your cast iron skillet has been heating for the full preheat cycle, and avoid opening the oven door during the first 15 minutes of baking.
Can I prepare the batter the night before for a quick morning bake?
While you can refrigerate the batter overnight, you must bring it to room temperature (about 30-45 minutes on the counter) before baking, or the cold batter won’t puff properly when it hits the hot pan. For best results, blend fresh batter in the morning—it only takes 5 minutes.
How do I prevent my gluten-free Dutch Baby from sticking to the pan?
Make sure your cast iron is well-seasoned and that you’re preheating it with butter already in the pan. The butter should be lightly browned and bubbling before you pour in the batter. If you’re using a newer or poorly seasoned pan, add an extra tablespoon of butter to coat the sides thoroughly.
What’s the best way to reheat leftover Dutch Baby to restore the texture?
Reheat in a 375°F oven or air fryer for 5-7 minutes rather than using a microwave. The dry heat will re-crisp the edges and restore some of the original texture. Place slices directly on the oven rack or air fryer basket for maximum crispiness, and avoid stacking pieces.
MOST IMPORTANT INSIGHTS TO REMEMBER
#1 Cast iron skillet preheating with butter creates the essential crispy-edged foundation by ensuring even heat distribution at 425°F, which triggers immediate steam formation when the batter makes contact and produces the dramatic puff that defines authentic Dutch Baby pancakes.
#2 Blending ingredients in the correct order with warm melted fats prevents scrambling the eggs while creating an emulsion that brings the batter to optimal temperature, allowing almond flour to achieve a smooth texture comparable to traditional wheat flour versions.
#3 The deflation after baking is a natural feature caused by cooling steam and creates a bowl-shaped serving vessel perfect for holding toppings like berries, whipped cream, and syrup in the valleys formed by the collapse.
#4 Air fryer adaptations using silicone muffin cups require 15 minutes at 425°F and produce portable individual servings that freeze flat for meal prep, making them ideal for busy mornings and kid-friendly portions.
#5 Almond flour cannot be substituted 1:1 with coconut flour because coconut flour absorbs significantly more moisture and would require completely different ratios of eggs and liquids, though oat flour and Bob’s Red Mill gluten-free blend work as direct replacements.
When you need a quick and easy gluten free breakfast for your family, turn to The Best Gluten Free Keto Dutch Baby Pancake Recipe that is filling and delicious.
So get out your cast iron skillet and blender and you will be noshing on this buttery breakfast delight in no time.


The Best Gluten Free Keto Dutch Baby Pancake Recipe
Equipment
- Cast Iron Skillet 10-inch or 12-inch
- blender or mixer and mixing bowl
Ingredients
- 4 large eggs
- 1/2 cup heavy cream or coconut cream
- 1 cup almond flour
- 2 teaspoons vanilla extract
- 1 teaspoons lemon extract or fresh lemon juice
- 2 tablespoons Monk Fruit Sweetener or favorite granulated sweetener
- 1/2 teaspoon salt
- 6 tablespoons butter
- 4 tablespoons coconut oil
Instructions
- Preheat oven to 425F and get out your 10-inch or 12-inch cast iron skillet along with a few tablespoons of butter.
- Place 2 tablespoons of butter into the skillet, reserve the rest, and then place skillet directly into the oven as it preheats. This will slowly warm up the skillet and brown your butter at the same time.
- In a small saucepan, melt your stick of butter along with the coconut oil over medium heat and stir frequently as the butter melts. You do not want them to burn or smoke so watch carefully and stir them as they melt.6 tablespoons butter, 4 tablespoons coconut oil
- Get out your blender to blend up the batter by adding the ingredients in the order listed to create the fluffy texture. This is important so you have the liquid ingredients near the blade and the dry ingredients at the top.4 large eggs, 1/2 cup heavy cream or coconut cream, 1 cup almond flour, 2 teaspoons vanilla extract, 1 teaspoons lemon extract or fresh lemon juice, 2 tablespoons Monk Fruit Sweetener or favorite granulated sweetener, 1/2 teaspoon salt
- Your butter and coconut oil should be melted by now, so slowly pour the coconut oil and melted butter mixture in as you blend on low. This helps to slowly bring the batter to a warmer temperature without cooking anything.
- Now that your batter is blended, carefully pull your hot pan out of the oven, swirl the butter around the sides of the skillet to coat the surface, then pour batter into it. Very carefully place your batter filled hot skillet into the hot oven and bake for 20-23 minutes. Every oven is different so check at the 20-minute mark. If the sides have browned and puffed up then it is ready.
- Remove the Dutch Baby from the oven and let it cool for 5 minutes. During this time the puff pancake will slowly deflate, which happens to be my kids favorite things about this recipe. It happens slowly then quickly all at once as the hot air escapes from the oven pancake.
- Cut into 4 servings and top with butter, a sugar free drizzle of maple syrup, fresh fruit like fresh berries, or a dollop of whipped cream.
- If you have any leftovers, you can store it in an airtight container up to 5 days in the fridge. You can freeze the slices in a zip top freezer bag up to 3 months. I would recommend wrapping it in plastic wrap or foil first to prevent freezer burn then place in the freezer bag.
Notes
| Nutrition Facts | |
|---|---|
| Serving size: 1 large slice | |
| Servings: 4 | |
| Amount per serving | |
| Calories | 428 |
| % Daily Value* | |
| Total Fat 43.3g | 55% |
| Saturated Fat 28.4g | 142% |
| Cholesterol 248mg | 83% |
| Sodium 204mg | 9% |
| Total Carbohydrate 1.9g | 1% |
| Dietary Fiber 0.8g | 3% |
| Total Sugars 0.4g | |
| Protein 8g | |
| Vitamin D 29mcg | 147% |
| Calcium 32mg | 2% |
| Iron 1mg | 5% |
| Potassium 72mg | 2% |
Nutrition
Don’t forget to PIN the pinnable recipe card to your Pinterest board or print the printable recipe card.
Full disclosure, we are affiliates with various companies and earn a small commission from these companies when you purchase through my affiliate links.
This is at no extra cost to you.
Thank you for supporting my site by leaving a five-star review plus leaving a comment in the comment section with your results. This helps my great recipes to be shown to more people for my websites’ success!

Come follow me on social media as well as I post new recipes and videos on Instagram and Pinterest all the time!
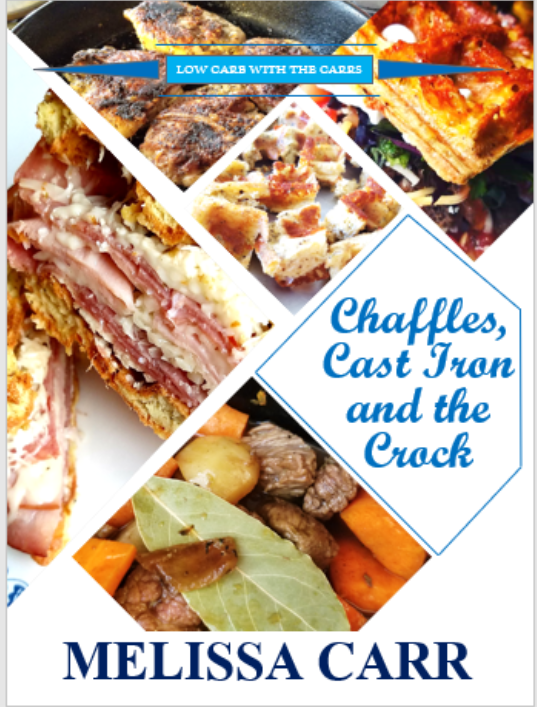
If you love cast iron as much as I do, then you would absolutely LOVE my 2nd cookbook “Chaffles Cast Iron and The Crock” !!

Check out these other gluten free keto-friendly breakfast recipes
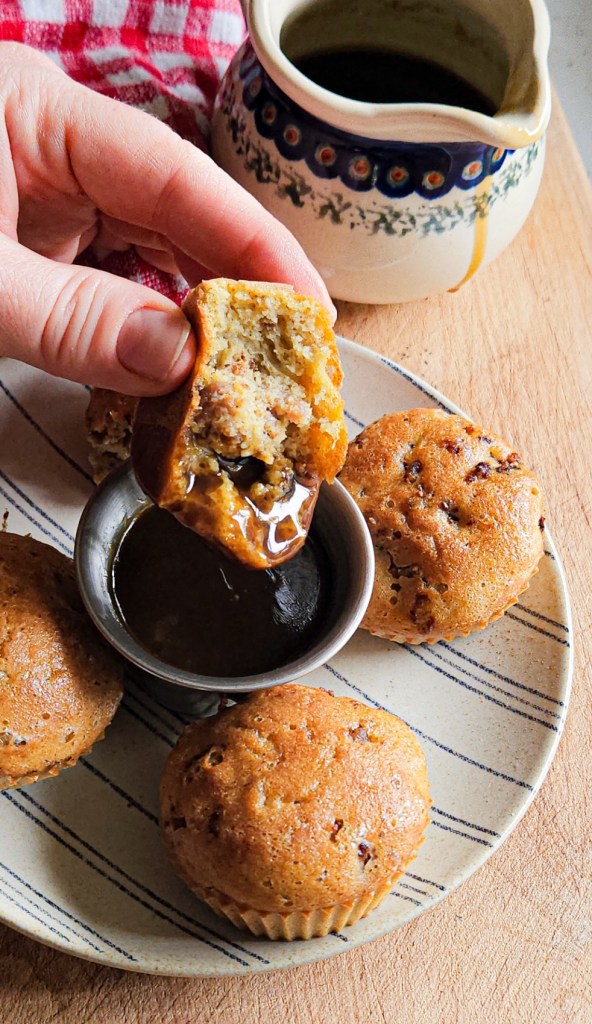
Easy Gluten Free Pancake Dippers Recipe Without Milk

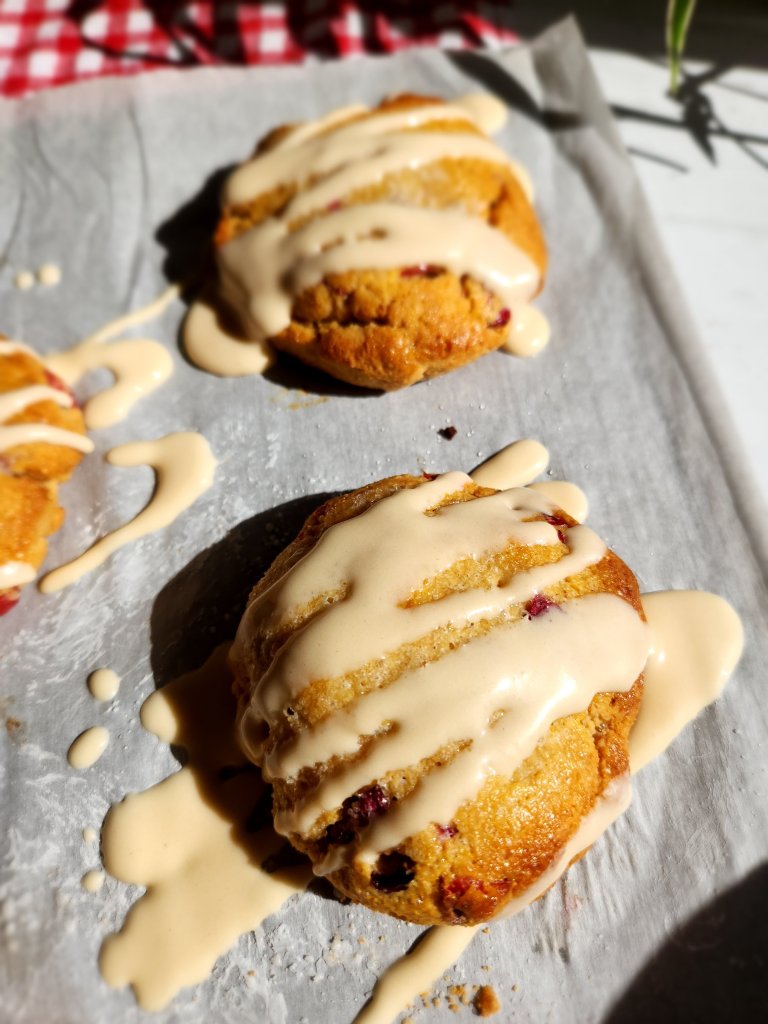
Gluten Free Cranberry Orange Bisconie Recipe (Keto)
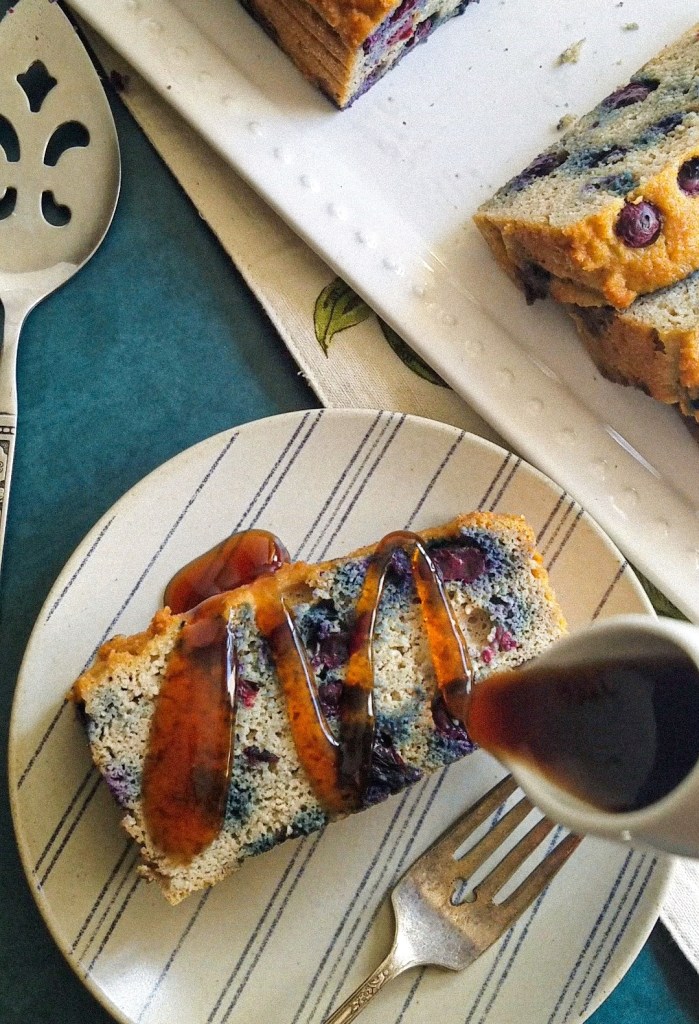
Quick Keto Pancake Bread Recipe with Blueberries

Air Fryer Recipes Beef Bread Breakfast Cakes Coconut Flour Cold Drinks Cookies and Bars Crockpot Recipes Dairy Free Desserts DIY Recipes Donuts Drinks Hot & Cold Fall Recipes Holiday Recipes Hot Drinks Ice Cream & Toppings Instant Pot Recipes Keto Condiments Keto Ingredients Kitchen Tips & Tricks Low Carb Side Dishes Main Dish Muffins Pies Pork Poultry & Seafood Pumpkin Puree Recipes Quick Gluten Free Lunches/Snacks Seasonal Recipes Skillet Meals Summer Recipes Uncategorized Waffles and Pancakes Winter Recipes