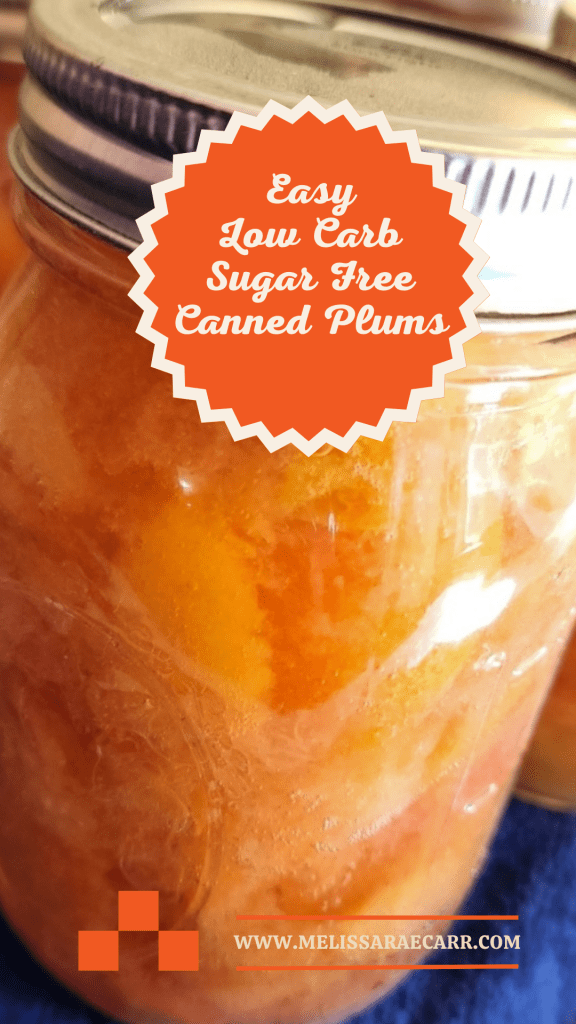
Easy Low Carb Recipe for Sugar Free Canned Plums
Canning is a traditional method of preserving fruits to enjoy their flavors and nutritional benefits long after their harvest season.
My recipe for Easy Low Carb Sugar Free Plums shows you how to preserve the summer sweetness of my favorite fruit, plums without any added sugar.
Plums are known for their succulent juiciness and sweet and sour taste which makes them a perfect candidate for canning.

I will show you the art of canning plums with sugar-free syrup, which makes it a healthier alternative for those looking to enjoy the harvest.
Since this recipe applies to all types of plums, whether Italian plums, freestone plums, wild plums, mirabelle plums or regular ole plum plums, it will work with any variety you have.
Canning your own plums, since it is a seasonal fruit, is far healthier than canned plums from the grocery store.
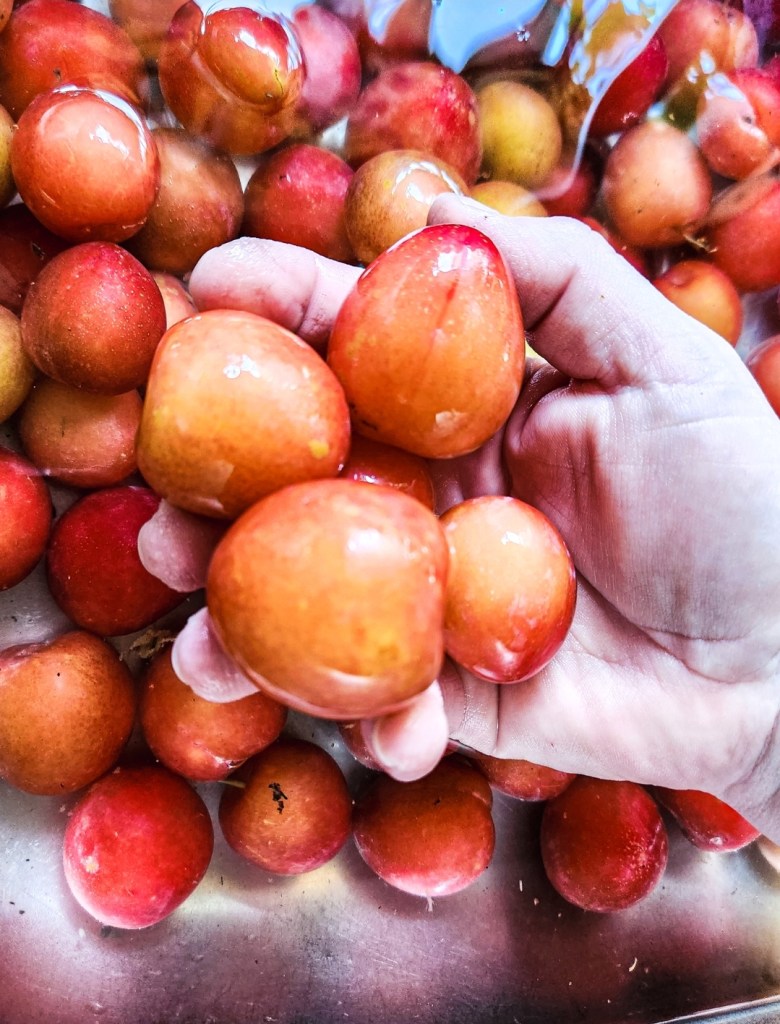
I was gifted a glut of plums, some 25 pounds of fruit called Mirabelle Plums to be exact, so that is what I used to show you this easy canning recipe.

I knew that I needed to preserve all of the bounty for later use as we would not be able to eat them all up before they turned to mush.
Plus we can still enjoy them in the coming months when it turns colder and farm fresh fruit is gone.
Mirabelle plums are a popular French European plum that is known for its distinct sweetness with a touch of sour and versatility.
Keep reading to the end of the post for tips and frequently asked questions.
What you will need to can your fresh plums.
- Fresh, Ripe Plums: Select high-quality, ripe plums for canning. Ensure they are free from blemishes or signs of decay and are semi-firm to firm. If they are too ripe, the end result will be very mushy and disentigrate in the canning process.
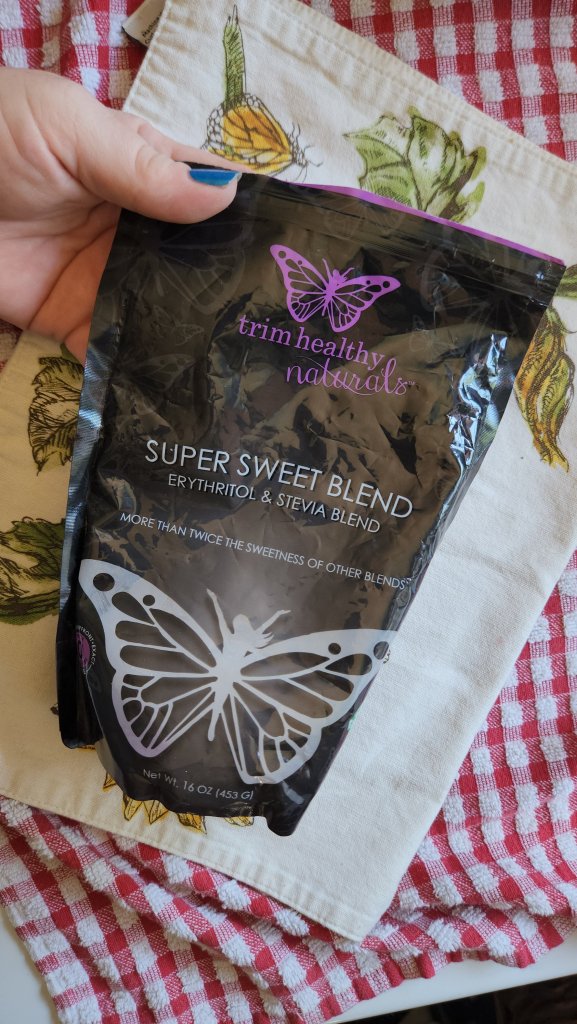
- Your Favorite Sugar Free Sweetener: I used a combination of erythritol and stevia for my syrup. You can find it from Trim Healthy Mama called Super Sweet. Allulose or other granulated sugar free sweetners will work as well.

- Pint Canning Jars: This recipe in particular will yield 4 pint jars (8oz jars). If you want to can more, just multiply the recipe accordingly. Always use clean, sterilized glass canning jars to prevent spoilage.

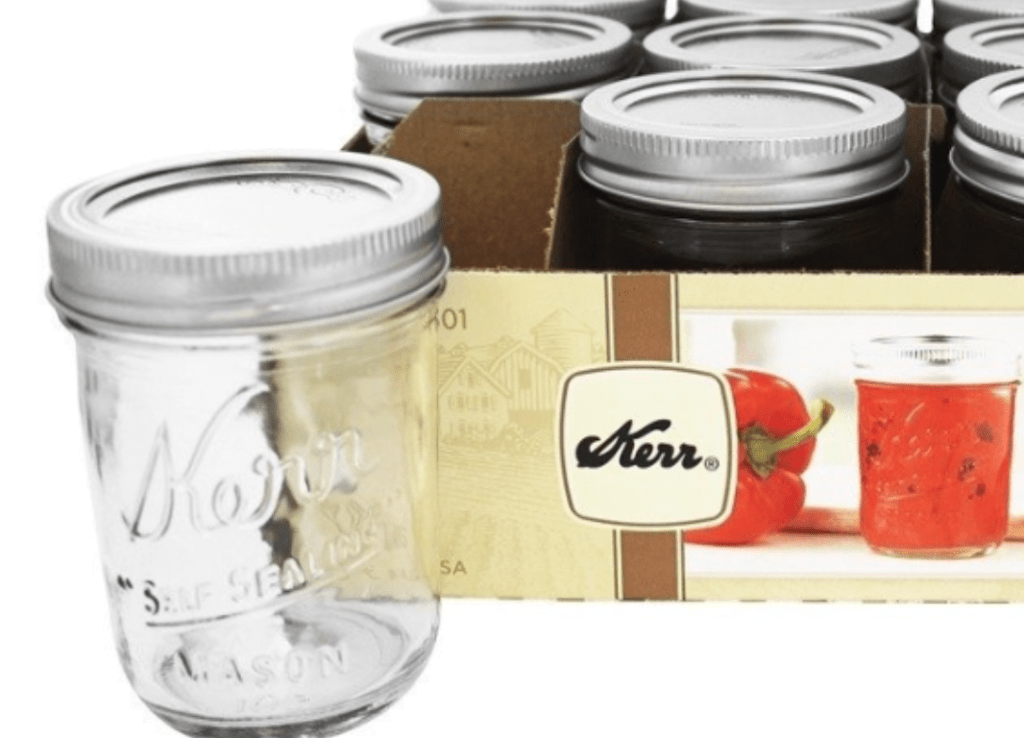
- Canning Lids and Bands: Ensure that all of the lids and bands are in good condition and free from any dents or rust. I routinely purchase new lids each canning season, but re-use my bands as long as they are not rusted.
- Canning Pot or Water Bath Canner: I use a very large stainless steel pot for my water bath canning. It must be deep enough and large enough in diameter to fit all of your jars plus have room for water to be at least 2 inches above the top. I will set my empty jars in the pot to measure before choosing my equipment to use.
- Canning Tongs and Lid Lifter: Canning tongs or jar lifter is used to safely put your jars into the boiling water bath as well as remove them. The lid lifter helps to retrive your lids from the hot water before placing them on the filled jars.
- Clean Towels and Rag Towels: Use a clean towel or cloth to wipe off the rims of the jars before placing your lids on. You will also need some clean rag towels that you will not mind getting stained while canning the plums. It gets messy and filling jars while on a rag or dark towel helps contain the mess and not stain your countertops.

Prepping your plums and Sterilizing Jars for Use
You will first start by washing and preparing your plums for the canning process.
You only want newly ripe plums.
If you have overripe plums then use them in a jam or plum butter recipe where they will taste better!
I washed my plums well, then looked them over for any blemishes and or mushy spots.
I cut out the mushy spots and skin where it had any marks or blemishes.

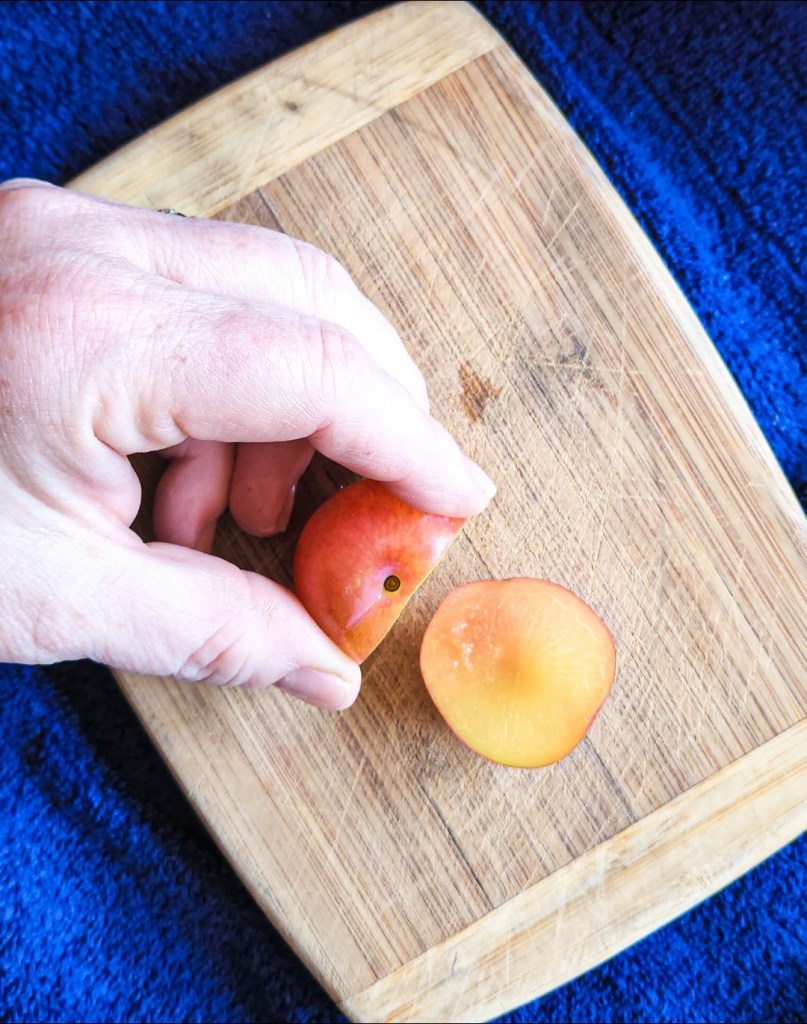
Next I chop plums in half and removed the pits.
If they are very large, you can chop the plums into fourths to fit in the jar.
I have heard you can use a cherry pitter to remove the pit from some clingstone fruit, but in this case, it did not work for me.
I just use a cutting board and a very sharp serrated knife.
The serrated knife helps to cut through the skin and flesh without pushing down on it.
You can also use a special tomato cutting knife, like the one Pampered Chef offers, and it would cut through the skin well without pressing the flesh too much.
If you want to leave them whole, you must prick the skin with a toothpick so it does not burst in the canning process.
This particular way of canning is called the Hot Pack Method.
It involves using hot plums and a sugar syrup versus a raw pack into the jars and covered with syrup.
This hot pack method is a great way to preserve the flavor of the plums.
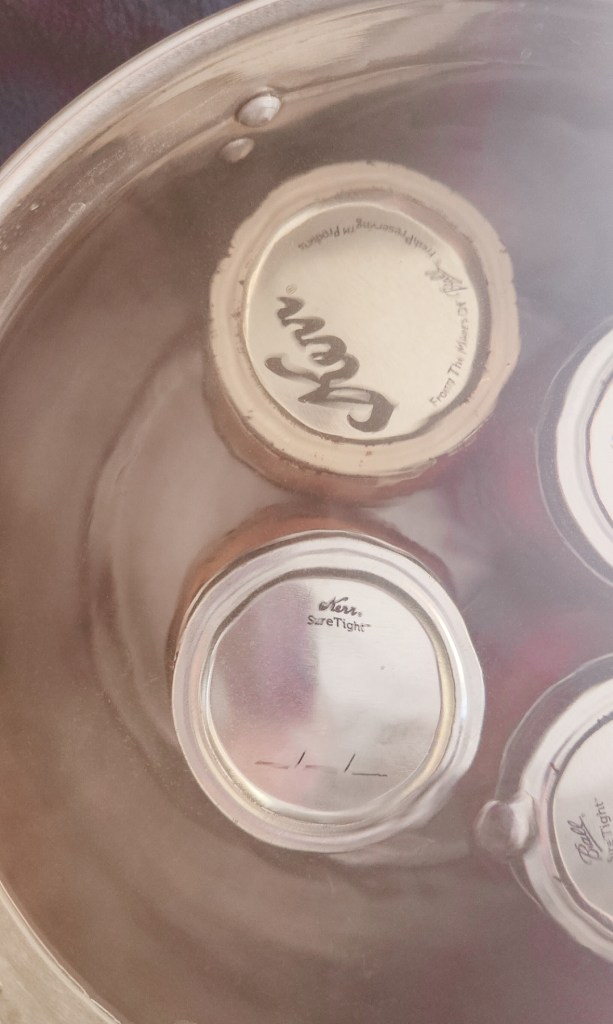
Fill the lidded pot you will use for water bath canning with water at least 3/4 of the way.

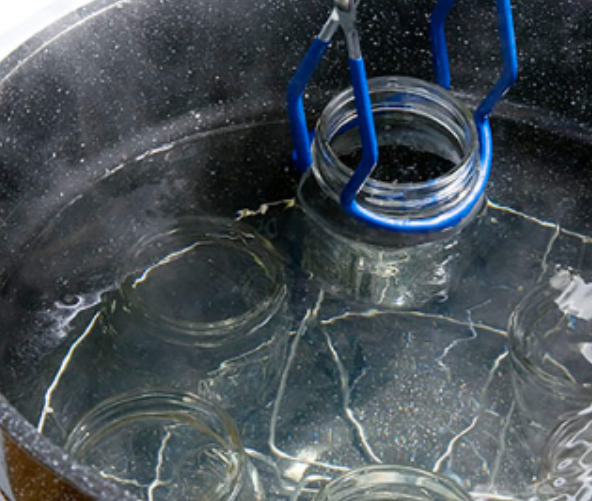
Place the empty jars you will be using into the pot and make sure water fills the jars and covers them while standing up.
Turn the heat up to high until the water boils.
Let it boil for 10-15 minutes then cover and turn off the heat.
Now your jars are sterilized and ready to fill.
Take your lids and place them in the water with the jars to warm while you fill the jars with plums.
Now lets can some Plums with Sugar-Free Sugar Syrup
In a different large saucepan or pot, combine the water and sweetener of choice and bring it to a full rolling boil.
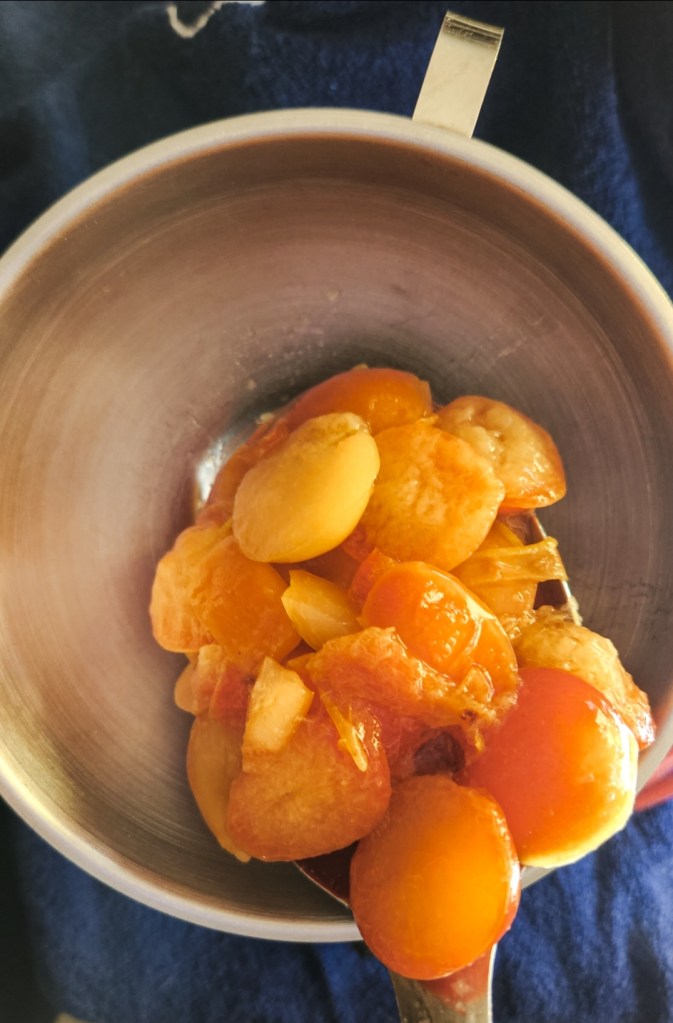
Once it has boiled, take it off of the heat and place plums into the hot syrup and fold them in.

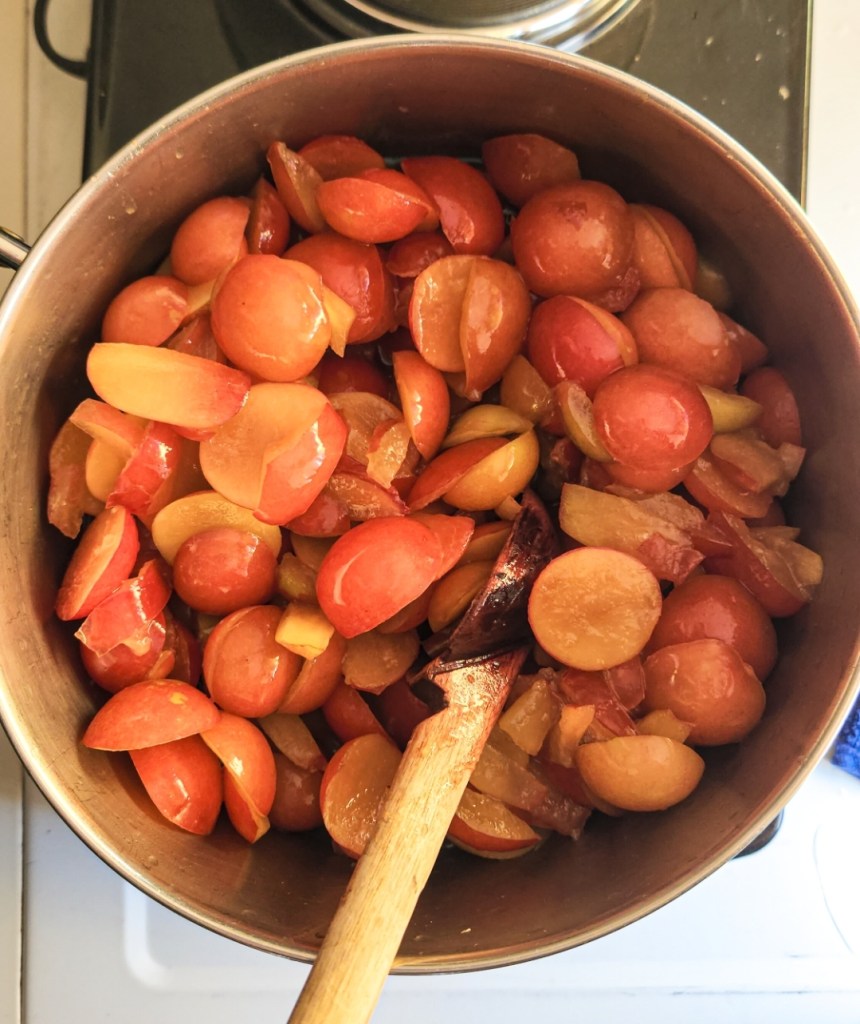
Combine plums with the syrup gently so you do not break up the whole fruit.
Return the pot to the heat for 1 more minute then turn the heat completely off leaving the pan on the heat source.
Let your plum filled pot sit there covered for 20 minutes.
This will give the entire plum mixture time to get completely warm without cooking it.
After it has set, remove the lid and give it a gentle stir.

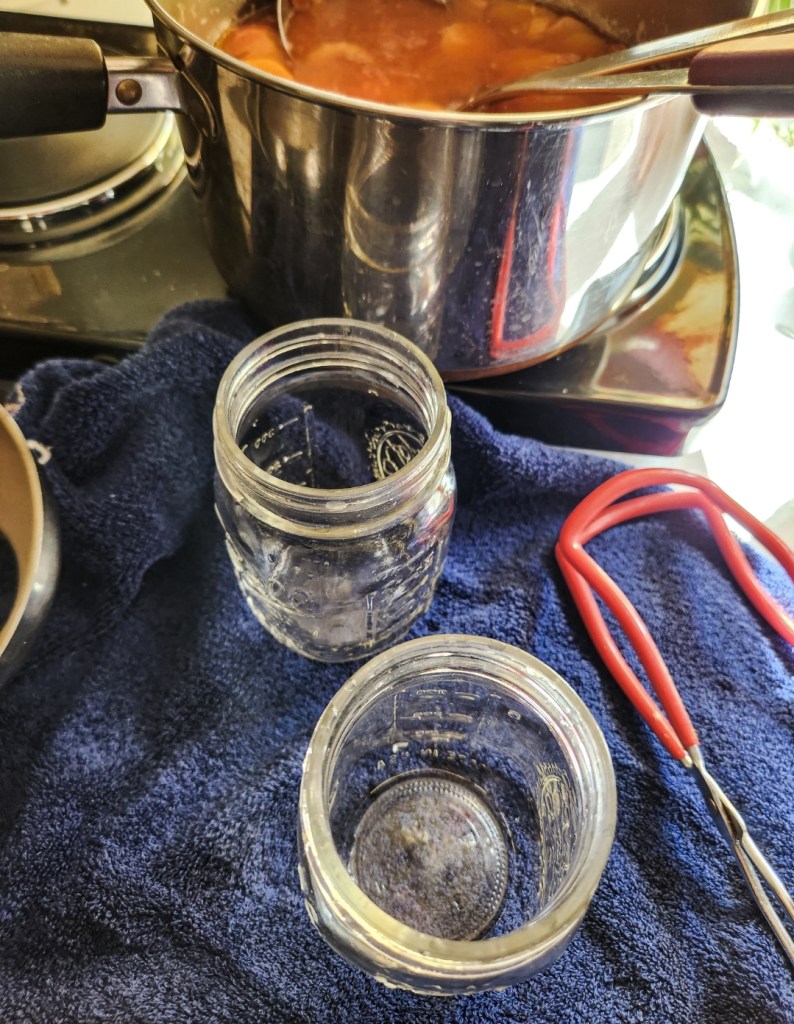
Using your jar lifter, pull out your hot jars from the boiling water canner pot and set on your towel covered surface.
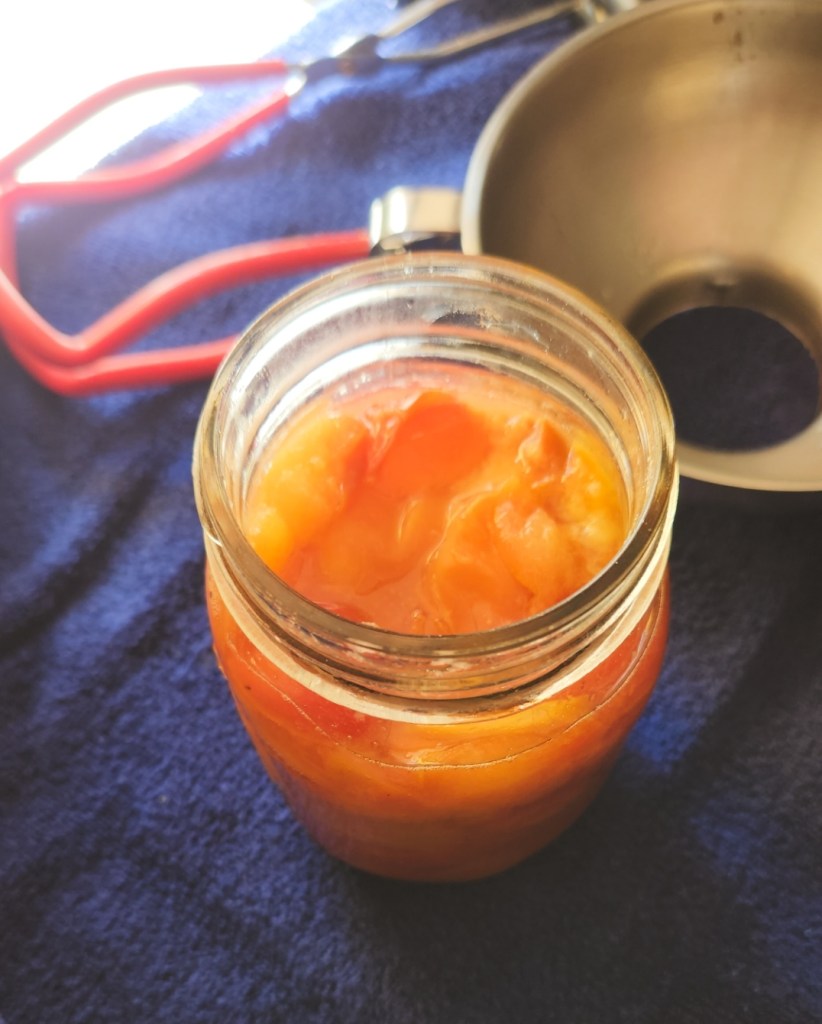
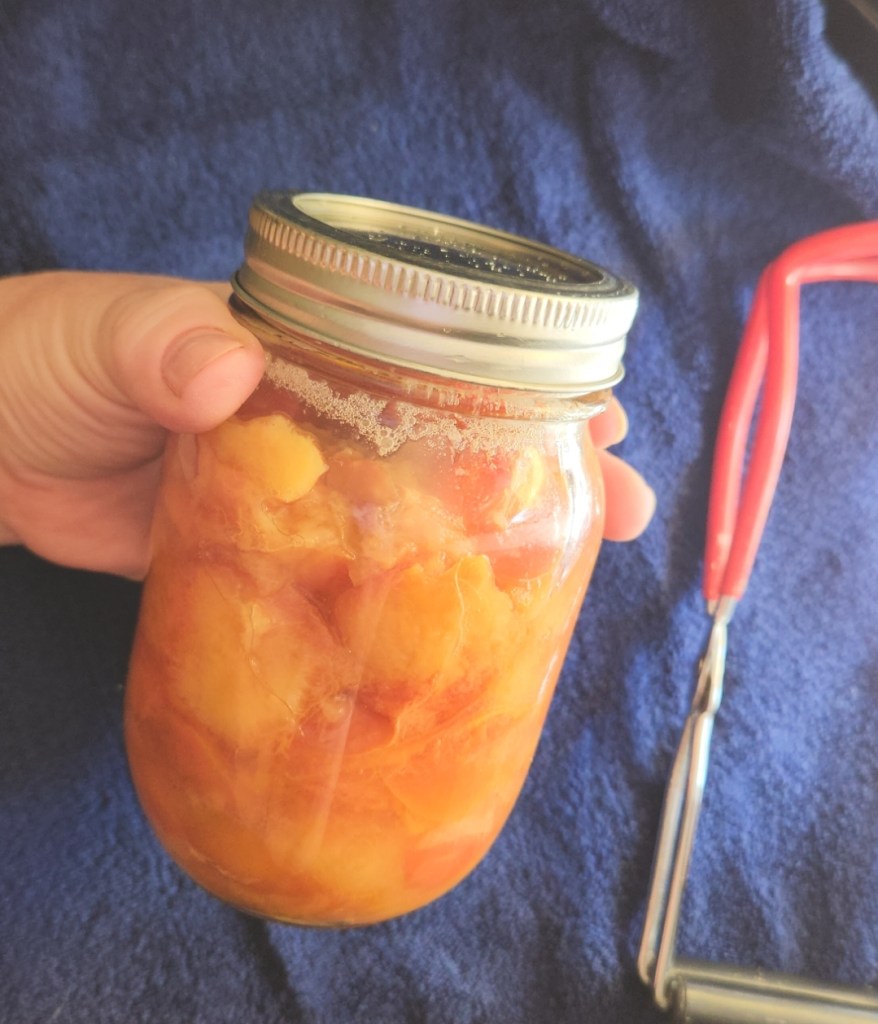
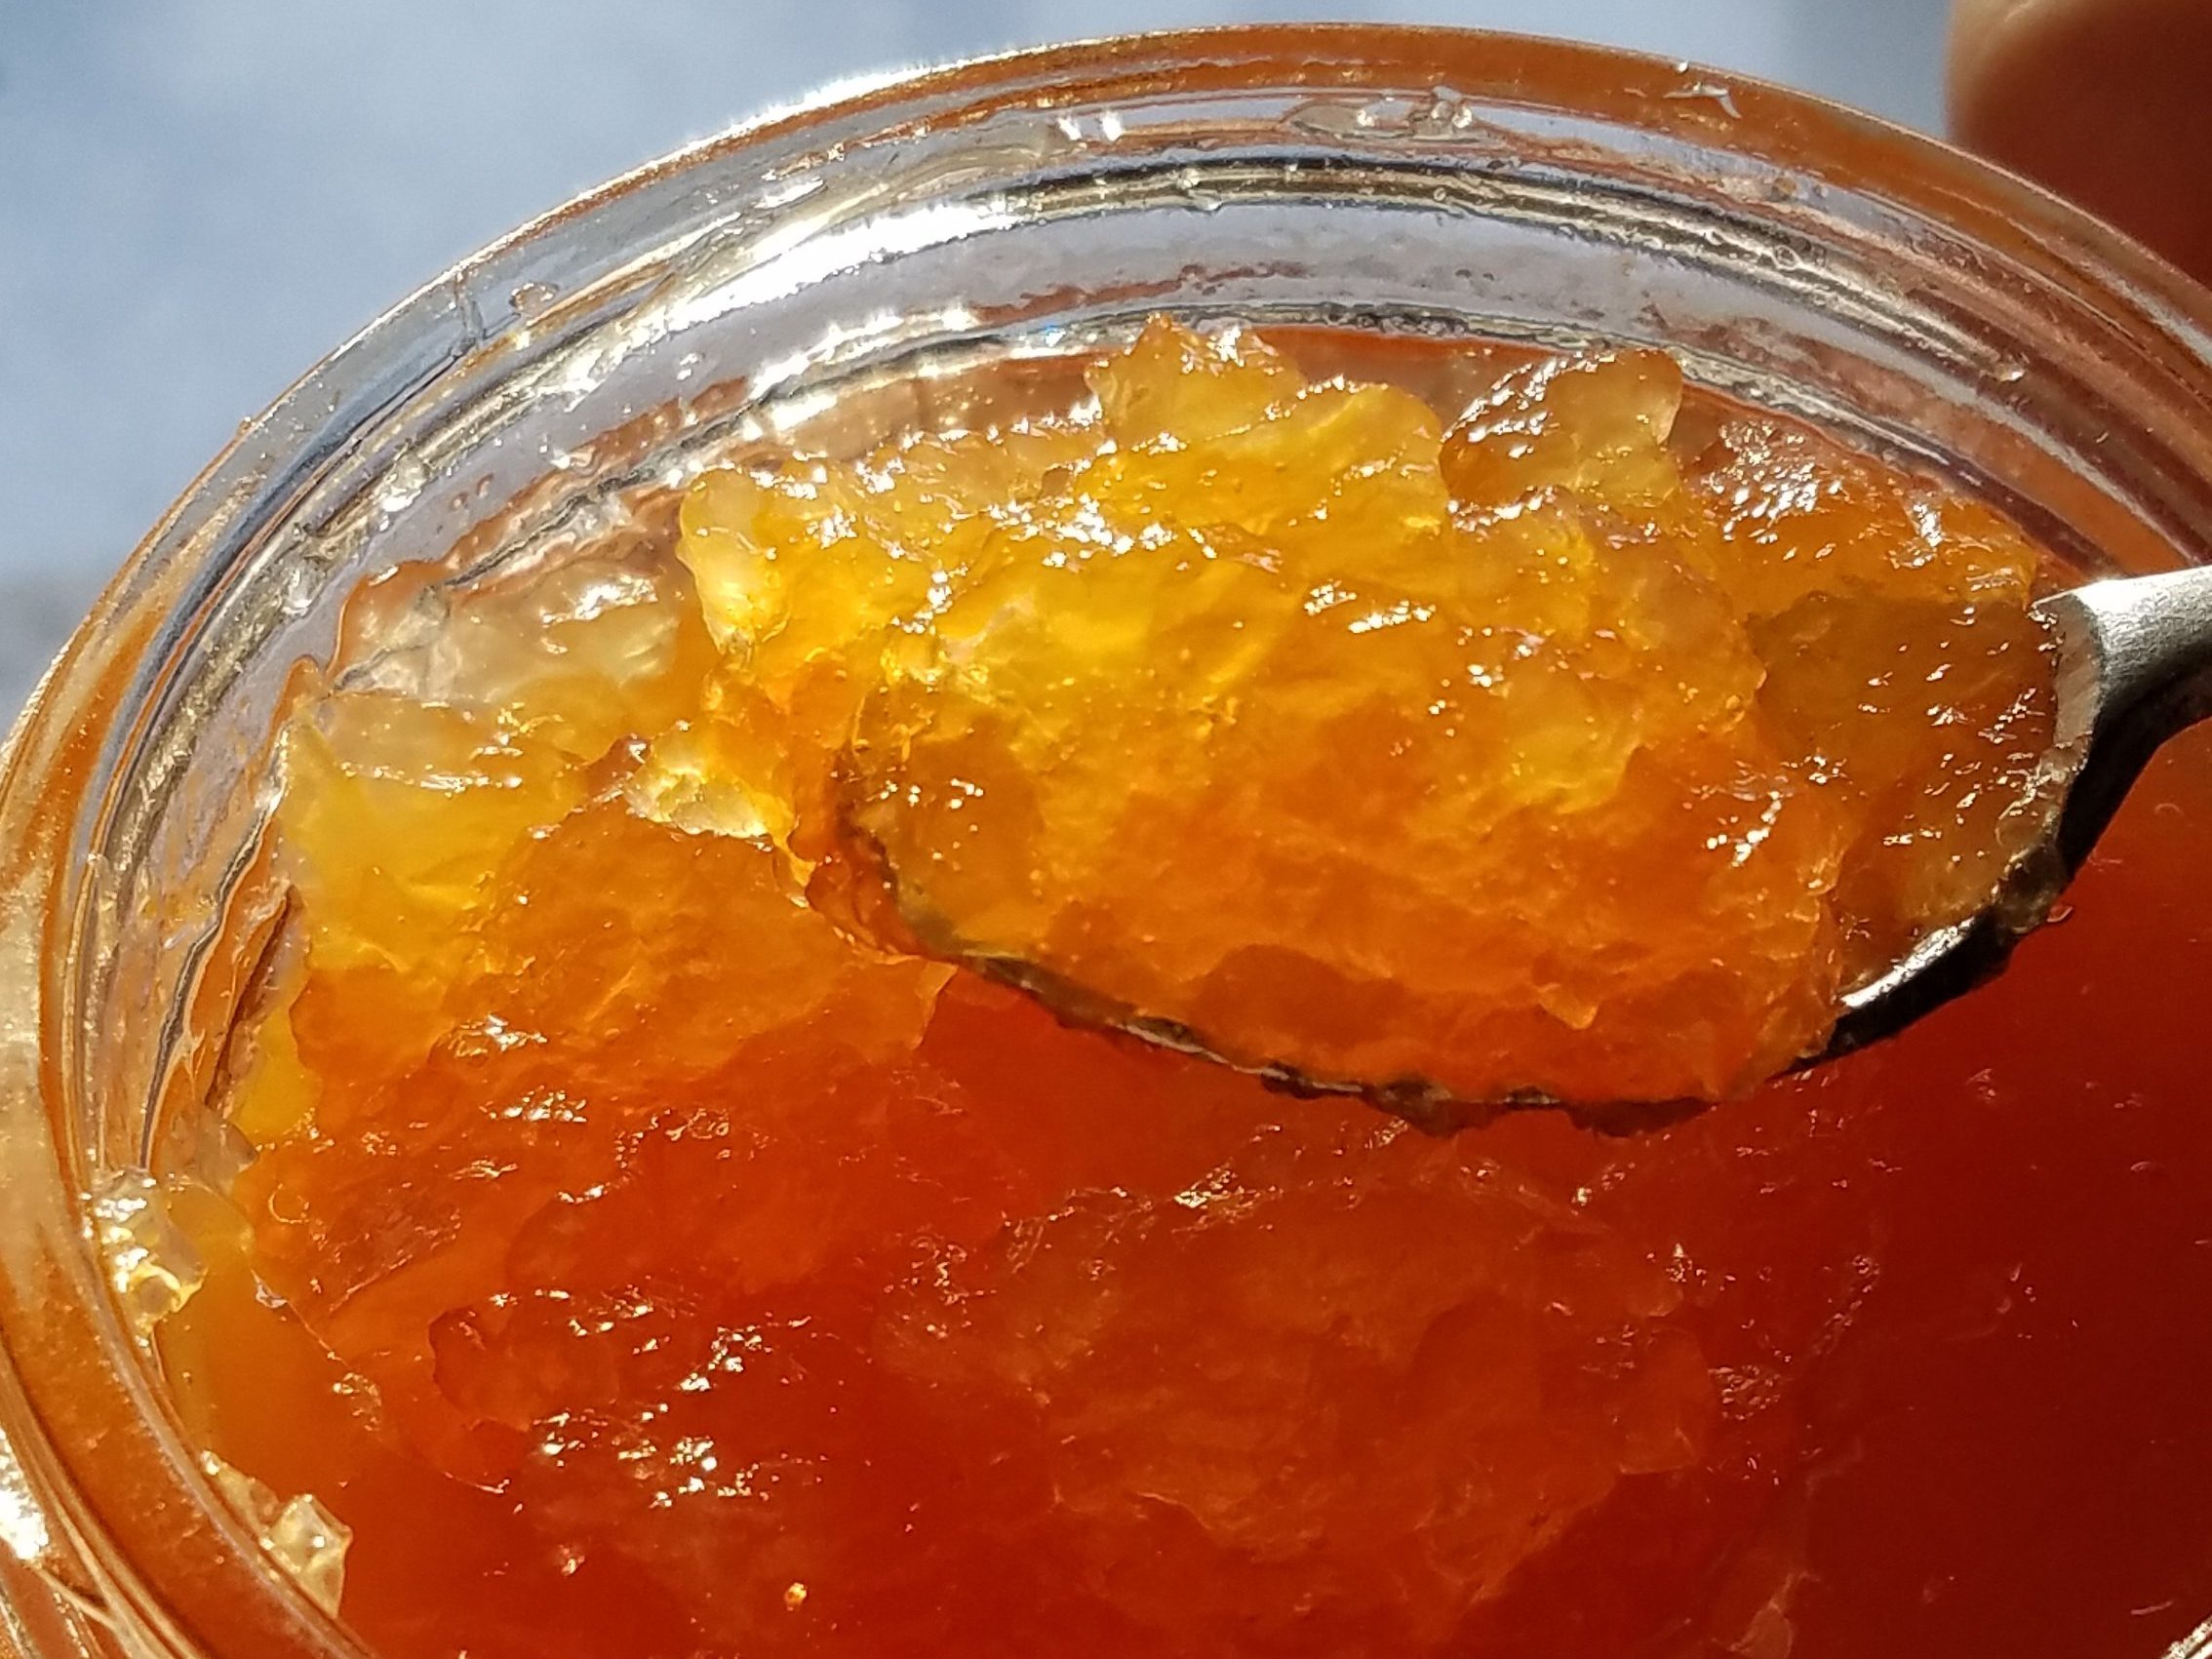
Place a funnel in your first jar and using a slotted spoon, scoop out the warmed plums and fill your jars up to the threads of the jar.

Once they are all filled, then start filling up the jars with the syrup from the pot leaving a 1/2 inch headspace.
Use a clean utensil, like a chopstick or a plastic spatula, to remove any trapped air bubbles by gently poking down the inside sidewall of the jar.
Do not stir!

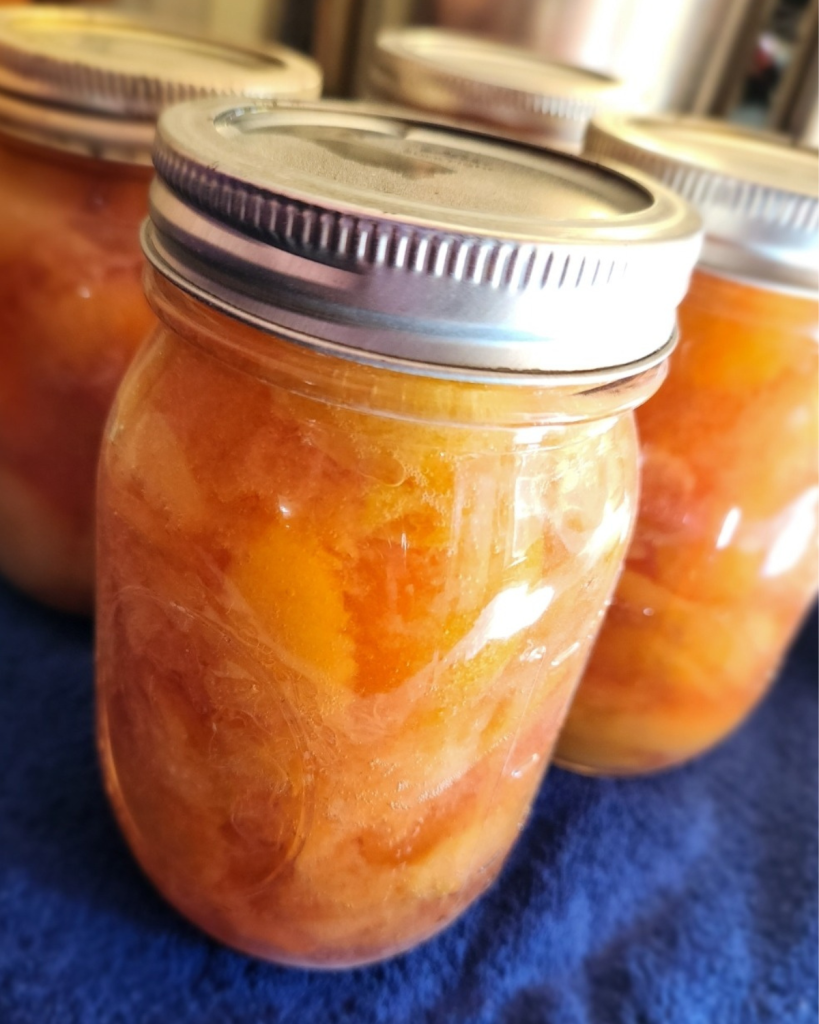
Now retrieve your lids from the warm water in the pot and cover jars with them.
Screw bands onto the lids well.
They do not need to be super tight, just enough for the lid to get a good seal.
Now with the jar lifter, lower each filled jar BACK into the original large pot of water.

After all jars are placed, fill it with enough water to cover the tops of the jars by at least 1-2 inches.

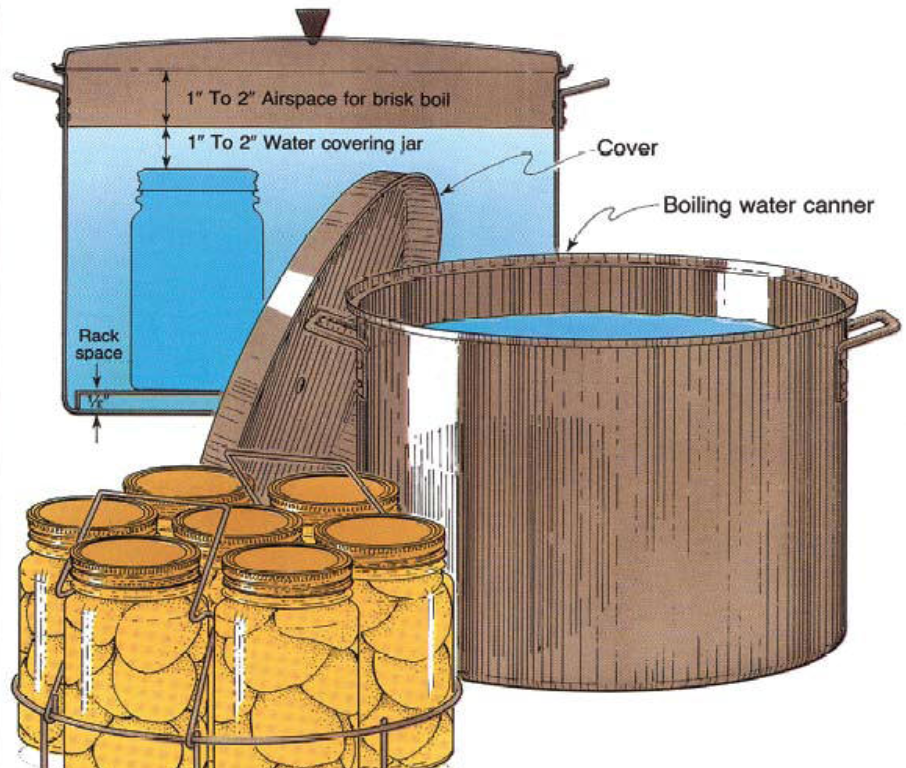
Turn the heat under the pot to high until it reaches a full boil.
At this point, put on the lid and set a timer for 10 minutes.
Once the time is up, turn off the heat and retrieve the jars with the jar lifter and place on your towel you used earlier.
Let them sit at room temperature for 24 hours to completely cool.

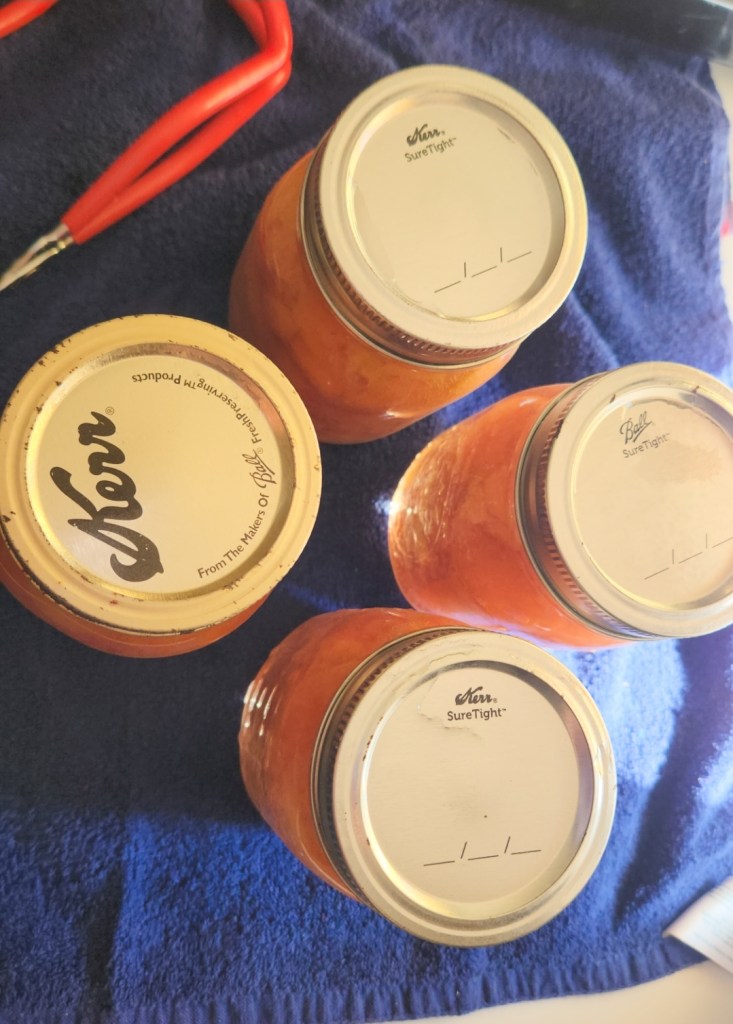
As they are coolng you will hear the lids pop as they suck down to the jar opening, this is a good thing!
If this is your first time canning, it may be startling but is also satisfying knowing you did it right!
Store the cooled, sealed jars in a cool, dark place.
Don’t forget to label each jar with the contents and the date of canning for easy identification.
They are good up to 18 months from the date of canning.

Tips and Frequently Asked Questions
- If you want to re-use lids after they have only been used once, you may get them to seal again. This of course is a personal preference, and is a gamble as the seal may or may not adhere. In the case of trying this method and it not producing a tight seal, you can easily store unsealed jars in the refrigerator up to 2 weeks unopened and 5 days opened.
- It is best to stick with a size of jar that fits the size of your plums. If you have very large plums, I would recommend that you use quart jars instead. This way you can pack plums looser versus crushing them on each other. Very small plums, like my Mirabelle Plums I use in this canning recipe, 4 pint jars worked well.
- Since it is a sour type of fruit anyway, there is no need to add lemon juice to preserve color. The color will fade if it is not stored in a dark cupboard after canned.
- I prefer to keep the skins on and only slice in half to prevent the plum flesh from disentigrating into the syrup you pack them in.
- Want to freeze some of your bounty instead of canning them all? Just place plum halves on a parchment lined baking sheet. Flash freeze for 2 hours then transfer to a large gallon Ziploc freezer bag. Use frozen in recipes to prevent mushiness. I do this if I have lots of plums and I do not have enough jars to can them all.
- If you want to avoid using sugar free sweeteners in your canning liquid, you can always use fruit juice instead. Be warned that using fruit juice may pull the flavor of your plums into the juice and leave the plums flavorless. Consider orange juice, white grape juice, or apple juice.
- When you boil the water to mix with the sweetener, throw in a cinnamon stick to give it a great spiced flavor! Remove the stick when you go to fill your jars.

What can I do with the canned plums now?
- Make a plum cake when you fold in some drained plums into my Sugar Free Keto Vanilla Cake. This easy cake recipe would be excellent with additional drained plums on top of the cake batter and sprinkle some brown sugar on too.
- Make a plum crumble or crumble bars with my easy recipe for Low Carb Marmalade Crumble Bars Recipe. Just replace the marmalade called for with drained canned plums. Follow the rest of the instructions as written.
- Pour an entire jar into a small saucepan, juice and all. Slowly bring to a boil. Once the plums start breaking down, turn it to a simmer. Add additional sweetener if you need to while it is simmering. Give it about 10-15 minutes before it starts to thicken. Top a scoop of vanilla ice cream with this delicious plum sauce, or dollop over a stack of pancakes, even french toast! This is a delicious way to enjoy your plum bounty as a fruit desset when fresh fruit is long gone!
- Enjoy some canned plums over a small bowl of greek yogurt for a protein packed, flavorful breakfast!

Easy Low Carb Recipe for Sugar Free Canned Plums
Equipment
- Large Stock Pot
- Jar Lifter
- Funnel
- 4 pint canning jars with lids and bands
- Slotted Spoon
- Knife or chopstick
- Clean cloths preferrably dark to prevent visible stains
Ingredients
- 4 lb deseeded plums
- 1/4 cup monk fruit granulated or 1/4 cup Trim Healthy Mama Super Sweet Sweetener
- 2 cups water
Instructions
Prepping your plums and Sterilizing Jars for Use
- You will first start by washing and preparing your plums for the canning process.
- I washed my plums well, then looked them over for any blemishes and or mushy spots. I cut out the mushy spots and skin where it had any marks or blemishes.
- Next I chop plums in half and removed the pits. If they are very large, you can chop the plums into fourths to fit in the jar. I just use a cutting board and a very sharp serrated knife. The serrated knife helps to cut through the skin and flesh without pushing down on it.
- If you want to leave them whole, you must prick the skin with a toothpick so it does not burst in the canning process.
- This particular way of canning is called the Hot Pack Method. It involves using hot plums and a sugar syrup versus a raw pack into the jars and covered with syrup. This hot pack method is a great way to preserve the flavor of the plums.
- Fill the lidded pot you will use for water bath canning with water at least 3/4 of the way. Place the empty jars you will be using into the pot and make sure water fills the jars and covers them while standing up.
- Turn the heat up to high until the water boils. Let it boil for 10-15 minutes then cover and turn off the heat.
- Now your jars are sterilized and ready to fill. Take your lids and place them in the water with the jars to warm while you fill the jars with plums.
Canning Plums with Sugar-Free Sugar Syrup
- In a different large saucepan or pot, combine the water and sweetener of choice and bring it to a full rolling boil.
- Once it has boiled, take it off of the heat and place plums into the hot syrup and fold them in. Combine plums with the syrup gently so you do not break up the whole fruit.
- Return the pot to the heat for 1 more minute then turn the heat completely off leaving the pan on the heat source. Let your plum filled pot sit there covered for 20 minutes. This will give the entire plum mixture time to get completely warm without cooking it. After it has set, remove the lid and give it a gentle stir.
- Using your jar lifter, pull out your hot jars from the boiling water canner pot and set on your towel covered surface.
- Place a funnel in your first jar and using a slotted spoon, scoop out the warmed plums and fill your jars up to the threads of the jar. Once they are all filled, then start filling up the jars with the syrup from the pot leaving a 1/2 inch headspace.
- Use a clean utensil, like a chopstick or a plastic spatula, to remove any trapped air bubbles by gently poking down the inside sidewall of the jar. Do not stir!
- Now retrieve your lids from the warm water in the pot and cover jars with them. Screw bands onto the lids well. They do not need to be super tight, just enough for the lid to get a good seal.
- Now with the jar lifter, lower each filled jar BACK into the original large pot of water. After all jars are placed, fill it with enough water to cover the tops of the jars by at least 1 inch.
- Turn the heat under the pot to high until it reaches a full boil. At this point, put on the lid and set a timer for 10 minutes.
- Once the time is up, turn off the heat and retrieve the jars with the jar lifter and place on your towel you used earlier.
- Let them sit at room temperature for 24 hours to completely cool.
- As they are coolng you will hear the lids pop as they suck down to the jar opening, this is a good thing!
- Store the cooled, sealed jars in a cool, dark place. Don't forget to label each jar with the contents and the date of canning for easy identification. They are good up to 18 months from the date of canning.
Notes
| Nutrition Facts | |
|---|---|
| Serving size: 2 tbsp | |
| Servings: 64 | |
| Amount per serving | |
| Calories | 2 |
| % Daily Value* | |
| Total Fat 0g | 0% |
| Saturated Fat 0g | 0% |
| Cholesterol 0mg | 0% |
| Sodium 0mg | 0% |
| Total Carbohydrate 0.5g | 0% |
| Dietary Fiber 0.1g | 0% |
| Total Sugars 0.4g | |
| Protein 0g | |
| Vitamin D 0mcg | 0% |
| Calcium 0mg | 0% |
| Iron 0mg | 0% |
| Potassium 7mg | 0% |
Nutrition
Canning plums with sugar-free syrup is a wonderful way to savor the taste of fresh plums any time of year while making a healthier choice.
Whether you choose mirabelle plums or any other variety, the art of canning will enable you to enjoy the delightful taste of plums all year long, while preserving their nutritional benefits and natural goodness.
Don’t forget to PIN the printable recipe card to your Pinterest board or print out the complete recipe card.

We participate in affiliate advertising programs with various companies, including an Amazon Associate, and earn a small commission from these companies when you purchase through any affiliate links.
This is at no extra cost to you.
Thank you for supporting my site and also purchasing through these links to help me to create new keto recipes for you to try!I love it when you leave a comment with your results.
We all have our own ideas and ways of making recipes so you may share some new things I have not thought of!
Come follow me on social media as I post new recipes and videos on Instagram and Pinterest all the time!If you love cast iron as much as I do, then you would absolutely LOVE my 2nd cookbook “Chaffles Cast Iron and The Crock” !!


Try out some of my other recipes that use fresh fruit
The Best Low Carb Sugar Free Jelly Recipe (Keto)


Sugar Free Grapefruit Marmalade Recipe

The Best Low Carb Gluten Free Peach Cake Recipe